How to Blow-Dry Your Hair at Home Like a Pro
Remember how I told you guys that I won't let just anyone do my makeup? Pretty early on in my beauty editor career—after having one too many keener makeup artists attempt to “show me” their new spring collections by applying every single product to my face all at once—I came to the realization that for the most part, I MUCH prefer doing it on my own.
What I probably didn't tell you yet is that the same thing applies to blowouts.
Yes, I am weird. I know it's lovely when some nice person shampoos your hair and lets you sit reading a magazine in a sleepy, warm, semi-comatose state while they blast hot hair at your scalp. And I probably don't fully appreciate how much of a godsend blow-dry bars are for people with “problem hair” (curly, coarse, cowlicked, etc.) that, were they to DIY, requires half the day and a Tracy Anderson-style arm workout with a hair dryer in order to tame it into submission.
I get that. I really do. But I'm telling you, once I learned how to achieve a bouncy blowout on my own, at home, I've had more hair happiness than I ever imagined. Sure, I can't do it as “perfectly” as a professional hairstylist (even though half the time, I end up having to de-pouf salon jobs anyway). But it's cheap, i.e.: FREE; saves you time having to get someone else to do it; and once you learn the right technique, maybe even… FUN?! See if you don't agree after following these 10 tips.
Oh and before we start, in case you know me in real life: since I usually wash my hair every single day (!!), I don't always take time to do this. Sometimes—okay, a lot of the time—I leave the house with wet hair. Just in case you were thinking that my air-dried hair was my blowout hair and that it looks like crap. I promise you, when I put in an actual effort, it doesn't. Yay!
Okay, carry on.
Contents
- 1 1. Invest in a quality hair dryer.
- 2 2. Buy a round brush… or three.
- 3 3. Know your hair type (and then apply the right products accordingly).
- 4 4. A good blow-dry involves an air-dry.
- 5 5. If you have bangs, tackle them first.
- 6 6. Work section by section.
- 7 7. Pinning is your friend.
- 8 8. Don't rush it.
- 9 9. Pick a finishing product.
- 10 10. Make it last.
1. Invest in a quality hair dryer.
Just like you can't expect to have good makeup when you use those silly little makeup brushes that come with your blush or bronzer or whatever… you can't really expect to have a great blow-dry when you're using a low-quality hair dryer circa 1992.
A lightweight dryer with 1,500 watts of power is the minimum you should look for—otherwise it may not take the water out fast enough, leaving your hair hot but with moisture still in it (therefore causing your style to fall). On the flip side, dryers that push the water out TOO fast will make hair frizzy. If you have curly hair, a diffuser is a must… but the jury's still out on ionic.
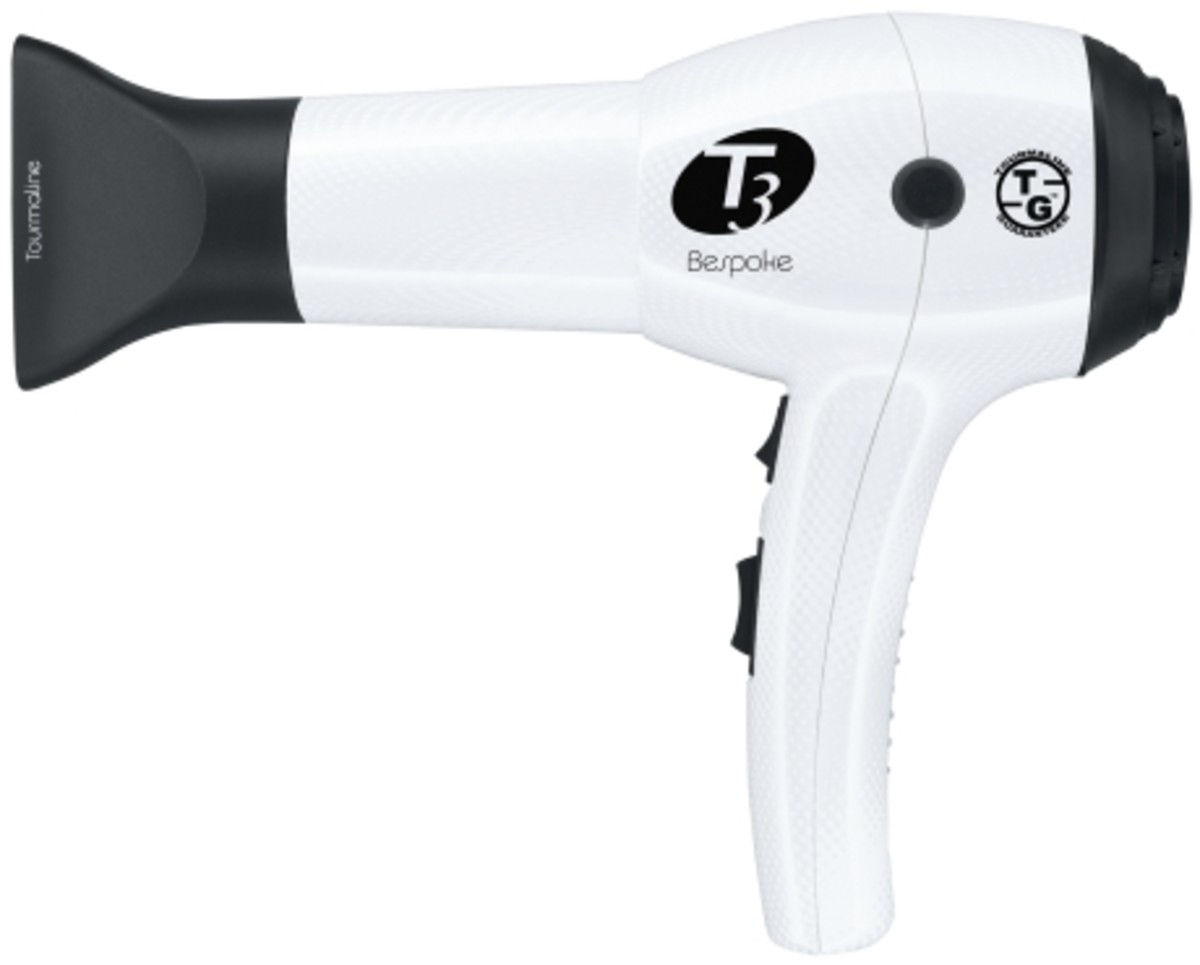
Personally, I've had my T3 Featherweight ionic dryer since about 2006, and it's still humming along with zero problems:
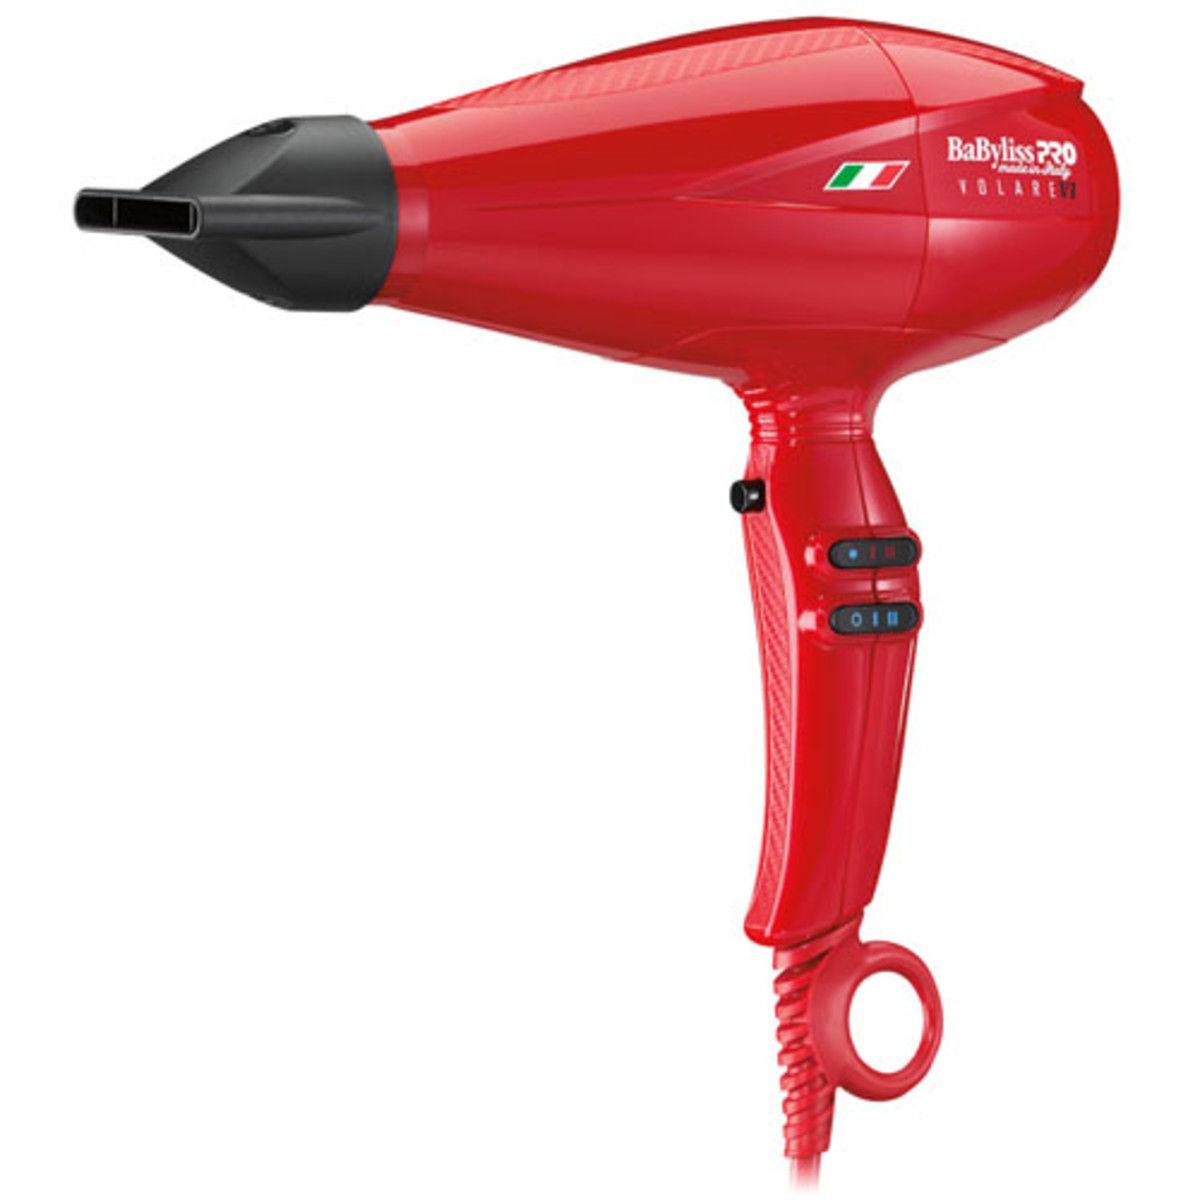
But if you really mean business, you could invest in the Conair BaByliss Pro Volare. This puppy packs a real Ferrari engine—no lie:
2. Buy a round brush… or three.
Are you one of those people who does the old turn-your-head-upside-down trick to blow-dry? I used to be, and it was fine (I'd just finish the ends with a flat iron to look polished). But once I figured out how to use a round brush, I liked my hair way better. It's also not 2002 anymore, yes?
For the volume-challenged among us, lifting your hair up and away from the scalp with a round brush makes a HUGE difference. They're also essential for straightening, obvi, since they hold your section taut as you direct the heat over it. And finally, I just love how you can get that slight bend at the ends where they're just a tiny bit curled under… the key to the salon look in my opinion.
The classic round brush is by Denman…
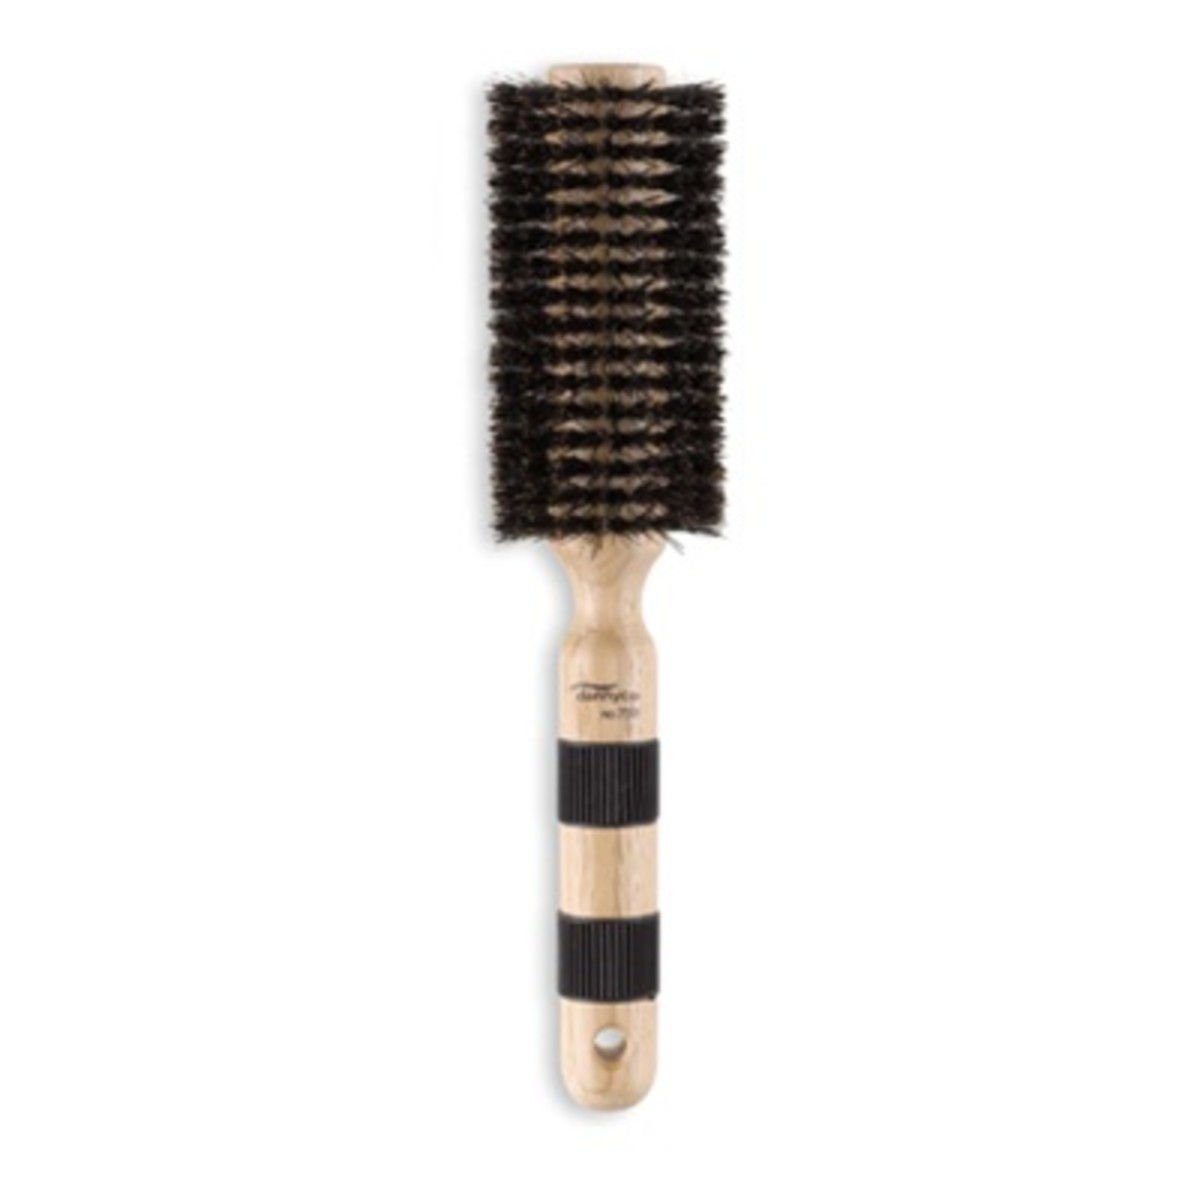
I don't have one, but I do use this one by Dannyco on the regular:
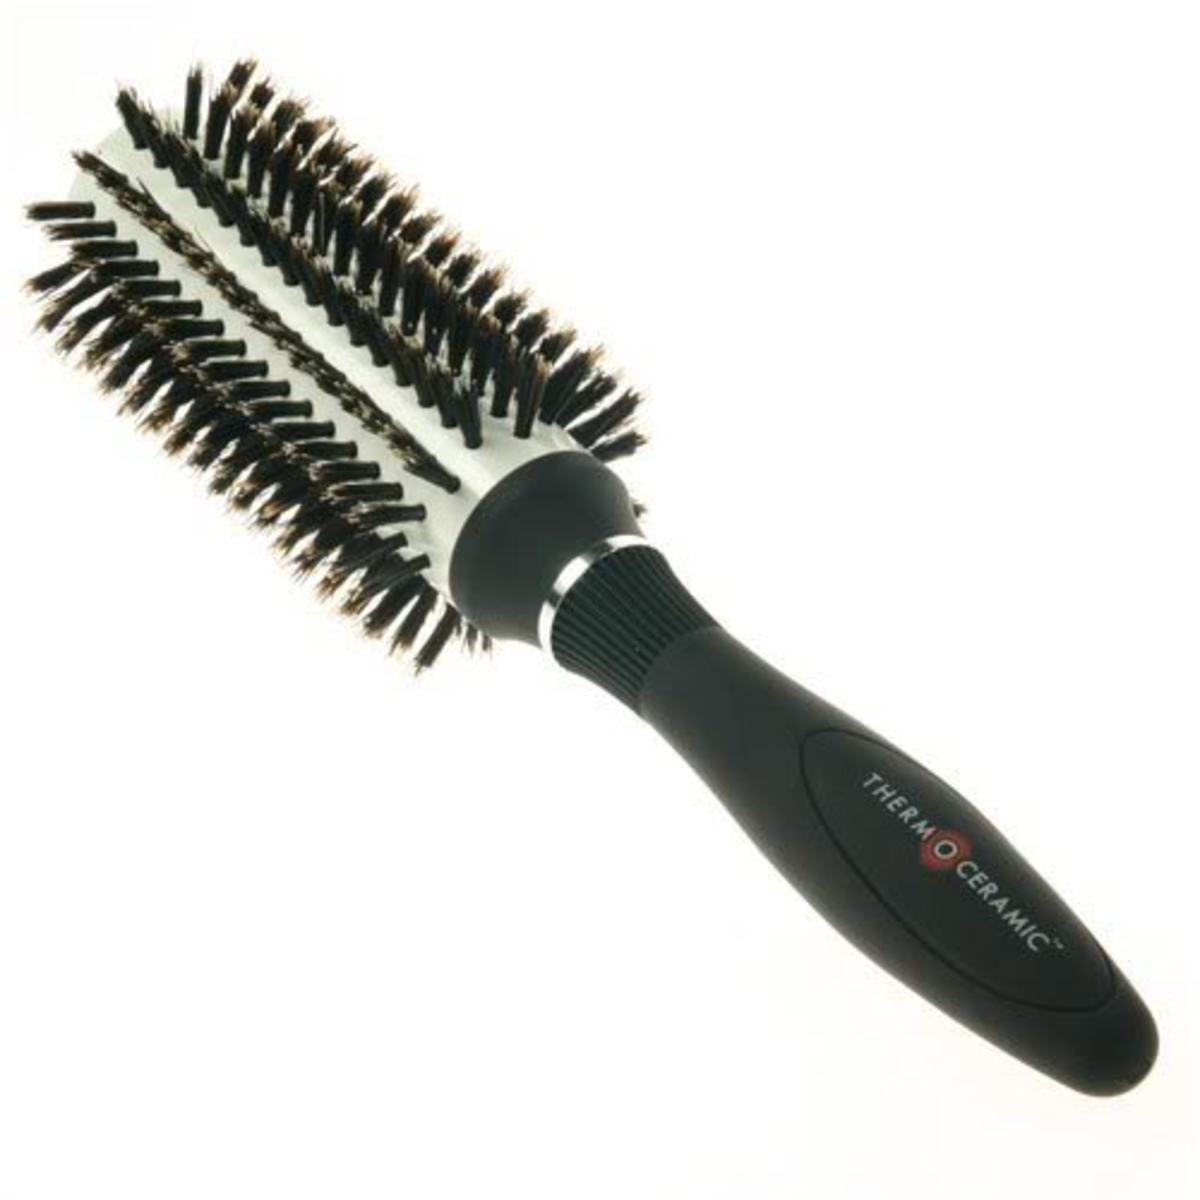
And also this ceramic one from Raincry:

And guess what? I actually use BOTH when I blow-dry. More on this in a bit, but leaving one brush in the hair while you move on to the next section can really help it “set.” So if you can… buy two or even three brushes.
Note: A larger size round brush is best if you like a straight blow-dry (no matter what hair type you have to start with). Smaller ones will give you soft waves.
3. Know your hair type (and then apply the right products accordingly).
If you have fine hair, stick with volume-building shampoos and lightweight conditioners (on the ends only), and then apply a root-lifting spray or volumizing mousse pre-blowout. The hands-down best I've tried in this category is this mousse from Phyto Pro:
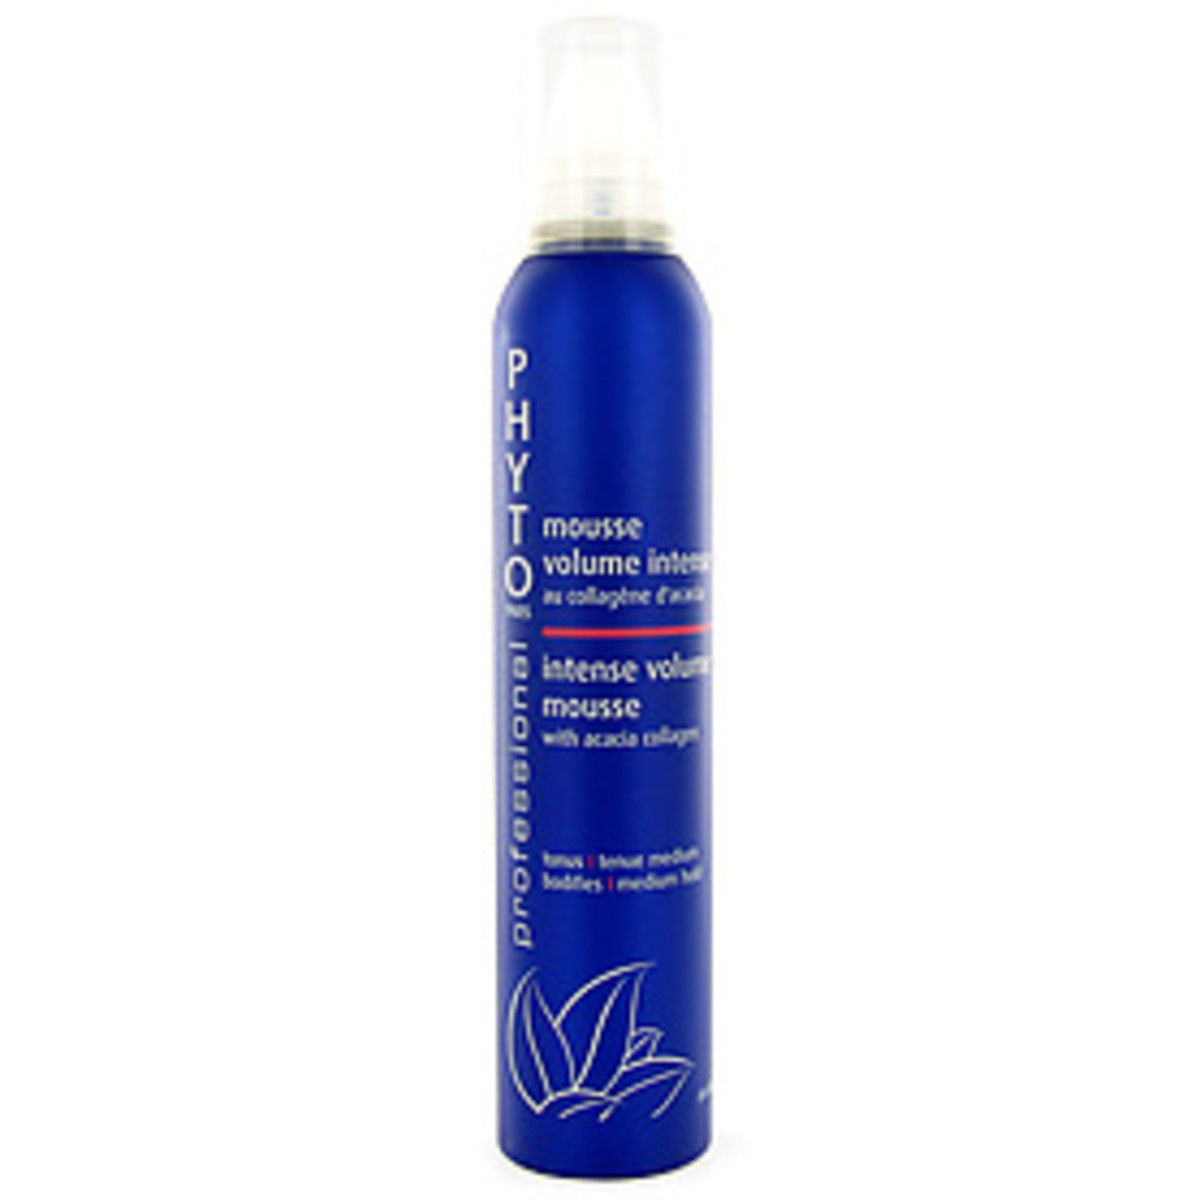
It gives, like, INSANE body. With fine hair, make sure you apply any volume prodz from roots to tips—otherwise you're going to get great lift at the roots but wimpy, flimsy hair everywhere else.
For thick hair, you can do a volume product at the roots only and then a leave-in conditioner or smoothing cream through the ends. How heavy it is and how much you apply will depend on your hair texture and how frizz-making the weather is out there. With my flat, fine hair I don't have a dog in this fight, so I can't give you any product recos… but leave yours in the comments!
4. A good blow-dry involves an air-dry.
So I really hope you haven't been firing hot air at your head straight outta the shower… because if so, then it's no wonder you'd find at-home blowouts a pain in the ass. When you start with dripping wet hair, blow-drying not only takes forEVER, but it also encourages frizz.
What you want to do instead is sit tight for a bit. Get out of the shower and use a towel to pat (not rub) some of the water out of your hair. (Or use Jasmine's T-shirt trick.) Then, do your makeup. Make some toast. Floss.
Curly or wavy hair should be 50 percent dry before you start, while straight hair can be up to 80 percent dry. (If you truly don't have time to wait, straight hair types can use the dryer on low heat for a few minutes to get there. But don't do this with curls.)
5. If you have bangs, tackle them first.
I should mention that there's one exception to this whole air-drying process, and that is if you have bangs. If you want them to look good, under no circumstances should you let them air-dry. Ever. This is because once they “set,” any cowlicks you have will be impossible to get out. Some of you did not like Jennifer Lawrence's bangs here, and maybe that's what happened:

Anyway! The best way to blow-dry bangs is to flip them back and forth from side to side with your brush as you dry. Or, if you're going for a side-swept look, use the brush to hold them in the opposite direction of where you want them to go—that way they'll have some bounce and not lie flat, as well as cover more of your forehead. Kinda like this:

6. Work section by section.
Okay, here we go! When you're ready to start, divide your hair into four sections by creating a horseshoe shape from your temples to the back of your crown, and then parting it down the middle. Clip up the sections and then work on one quadrant at a time.
Within each section, you're going to have several smaller sections (each, say, as wide as your brush). Taking one at a time, direct the nozzle of your dryer over the bristles as you move the brush from roots to tips. You want to hold the dryer about five inches away from the hair and in a downward direction so that the cuticles lie flat and smooth.
I like to also lift each section up and away from the scalp with the brush and blast the blow dryer there to start—this gives me a boost at the roots before I work on drying and smoothing the rest of the piece.
To get that nice curled-under look at the ends, like this—
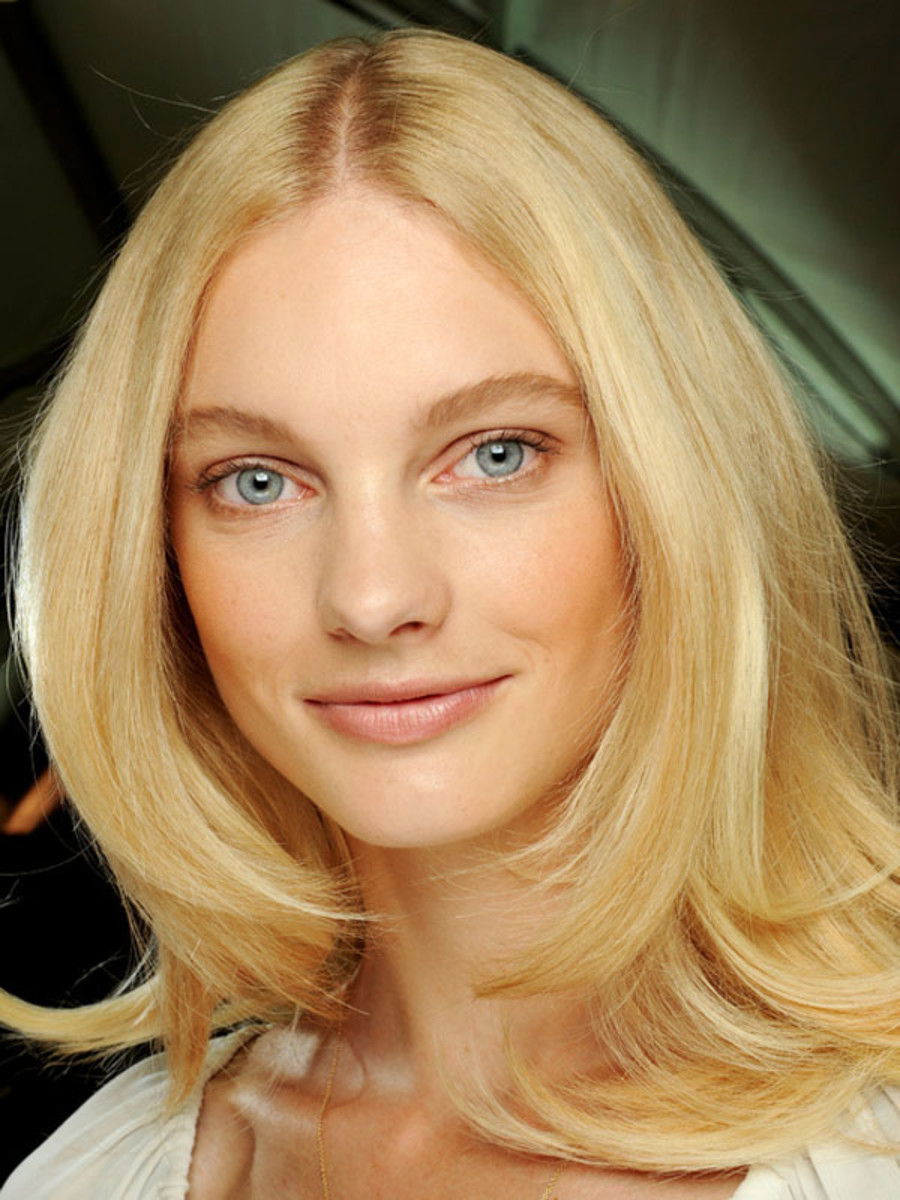
—wrap your hair around the brush and blast it with cool air for a moment or two. Then, you can either leave the brush in your hair while you move on to the next section, or…
7. Pinning is your friend.
I picked up this trick at a media event in the fall, and although it makes the process a little more involved, it REALLY works. Once your section is cool and dry, remove it from the brush and then take a hair clip (ideally one of those professional plastic ones)…
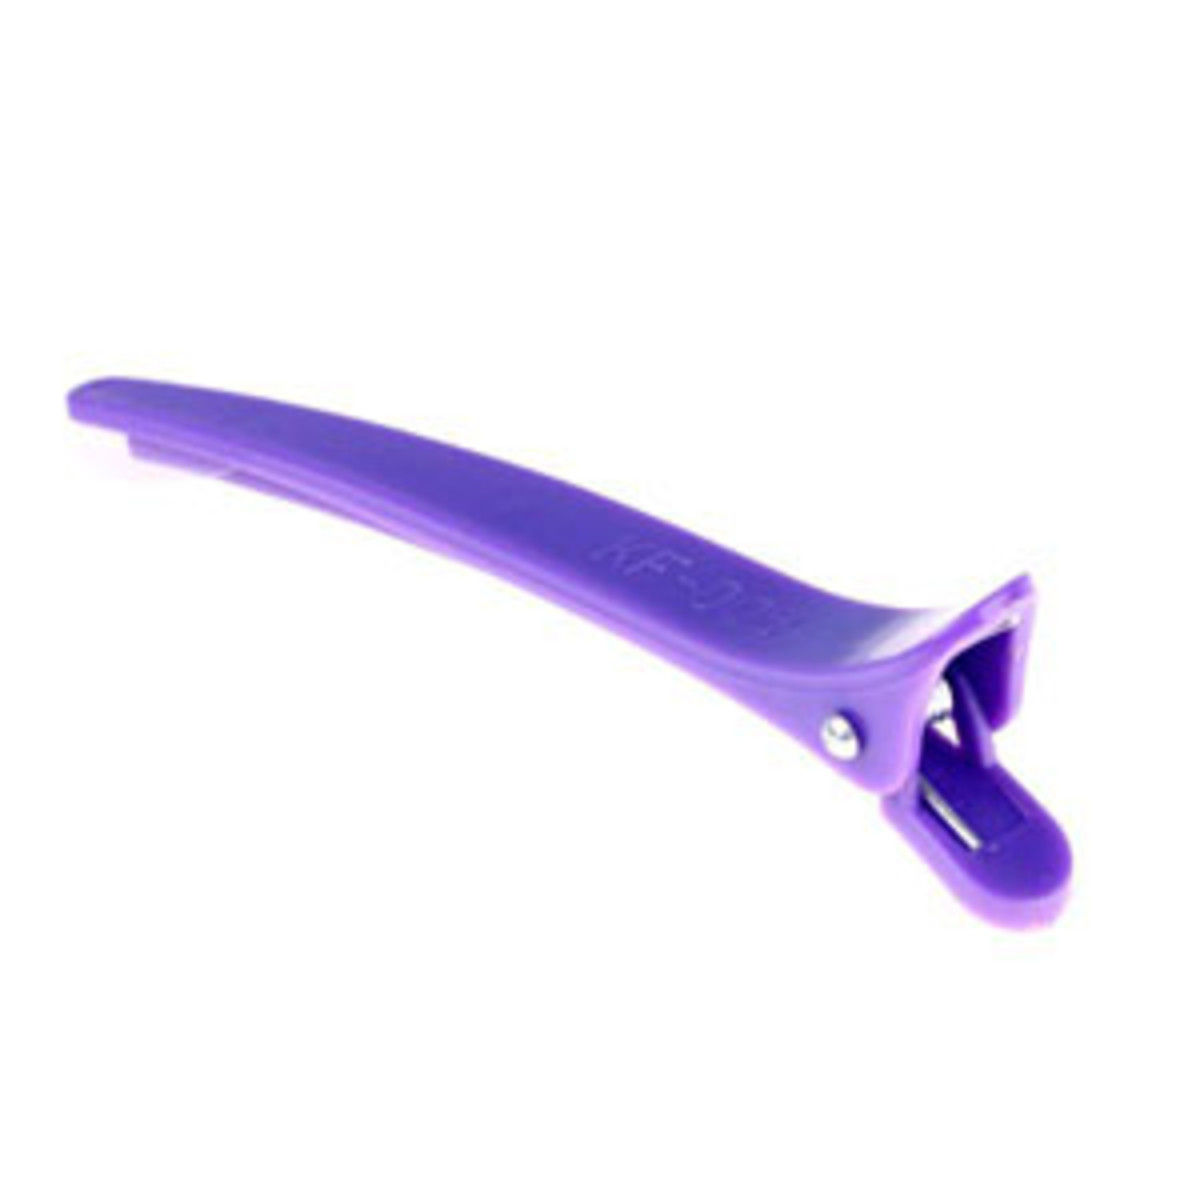
… to secure it in place, keeping the shape intact. You'll need to have enough clips to pin every section as you go, and then blast with cool air or let them sit for 10 or 20 minutes at the end before you take them out.
8. Don't rush it.
Whether or not you choose to do the round-brush leave-in trick, or the pinning, the key thing is to not give up before it's time. The biggest mistake people make (including me) is to not dry the hair thoroughly enough… which means you're going to have a mediocre blowout that you'll only have to re-do the next day. Do it properly from the start and you should get two, three or more days out of it.
So make sure each section feels springy and cool, and falls off the brush easily before you move on to the next section. If not, keep drying until it does.
9. Pick a finishing product.
Once you're done, choose ONE finishing product and apply it sparingly. That could be a gloss, a serum, a cream or an oil—but you really, really don't want to overdo it or it'll ruin your good work. I tend to skip this step, but again—leave your reco, if you have one, in the comments.
Then, you can mist with hairspray to secure the style. I used to be a big Elnett user, but lately the scent has been bothering me, so I've been into this one from Pureology:
10. Make it last.
If you want to get as many days as possible out of your blowout, shampoo your hair twice so it's SOOPER clean before you DIY. Then, on day two or three, get friendly with dry shampoo. Nothing beats it for absorbing oil at the roots—and it'll give you a sexy, piecey kind of texture. There are so many good ones, but lately I've been reaching for Marc Anthony's:
What you do at night is important too. Before you go to bed, wrap your hair into a loose topknot instead of leaving it long. Or, wear a silk scarf or sleep on a silk pillowcase to prevent it from tuggling and tangling while you sleep.
And… wow. This post took a long time to write. I hope it helped? Let me know—
Do you get salon blowouts or do you DIY?
What's your personal blow-dry technique?
Got any favourite pre- or post-blowout styling products? Sharing is caring!
