How to Get Sun-Kissed Skin with Makeup (No Sun Damage Required!)

Got a beauty question for us? Get in touch here.
Q: Hi Michelle! I'm an avid reader and trust everything you say! With that being said, on Sunday I believe you posted a few snaps of an RMS Beauty bronzer and blush, and you said they gave off the look that you'd been out the sun. I want that look (without actually having to go out in the sun! LOL). Can you tell me the names of the blush and bronzer you mentioned, and how to apply them? Thanks, Michelle! — Lindsey
A: Lindsey, thank you for the kind words!
A little faux sunburn—just across the nose and cheeks—is one of my favourite looks during warm weather. (Key word: faux. I don't endorse getting this look the “natural” way.)
Thankfully, it's easy enough to recreate with some rosy-bronzey makeup.
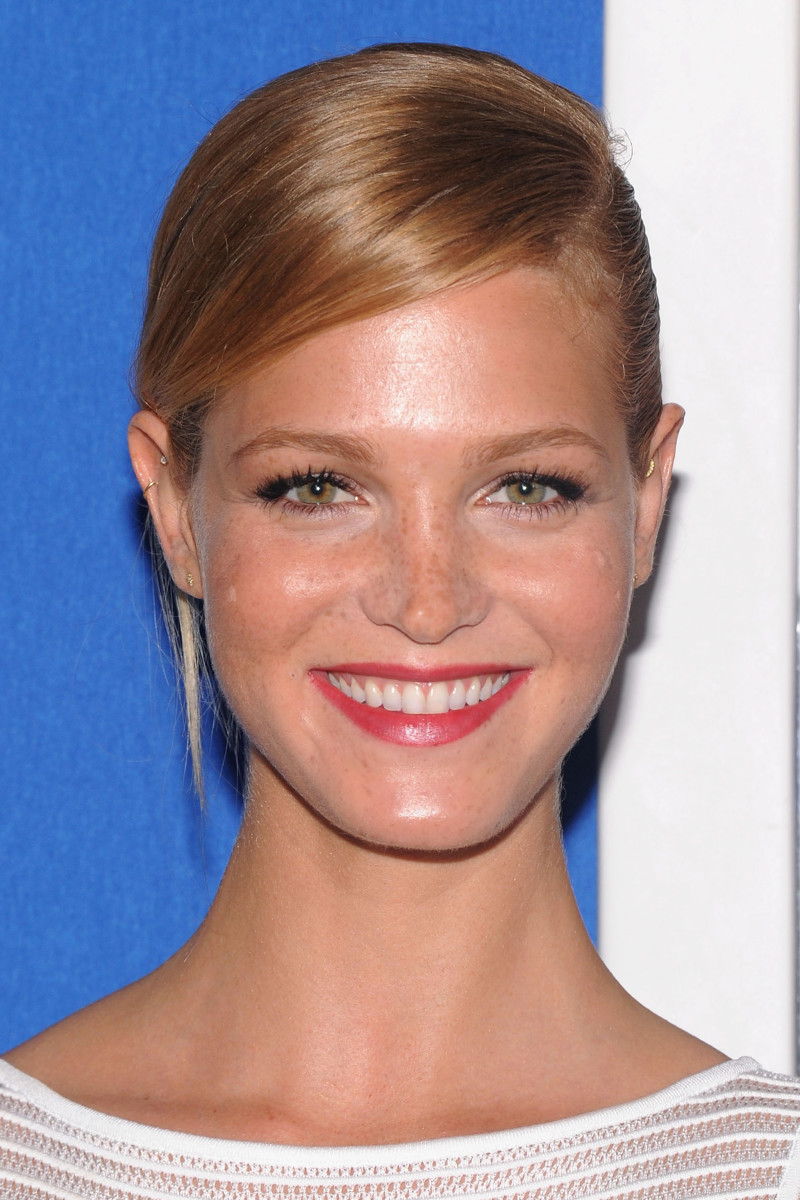
First, some examples of the effect we're going for. Erin Heatherton nails the look (of course, her natural freckles also help!):
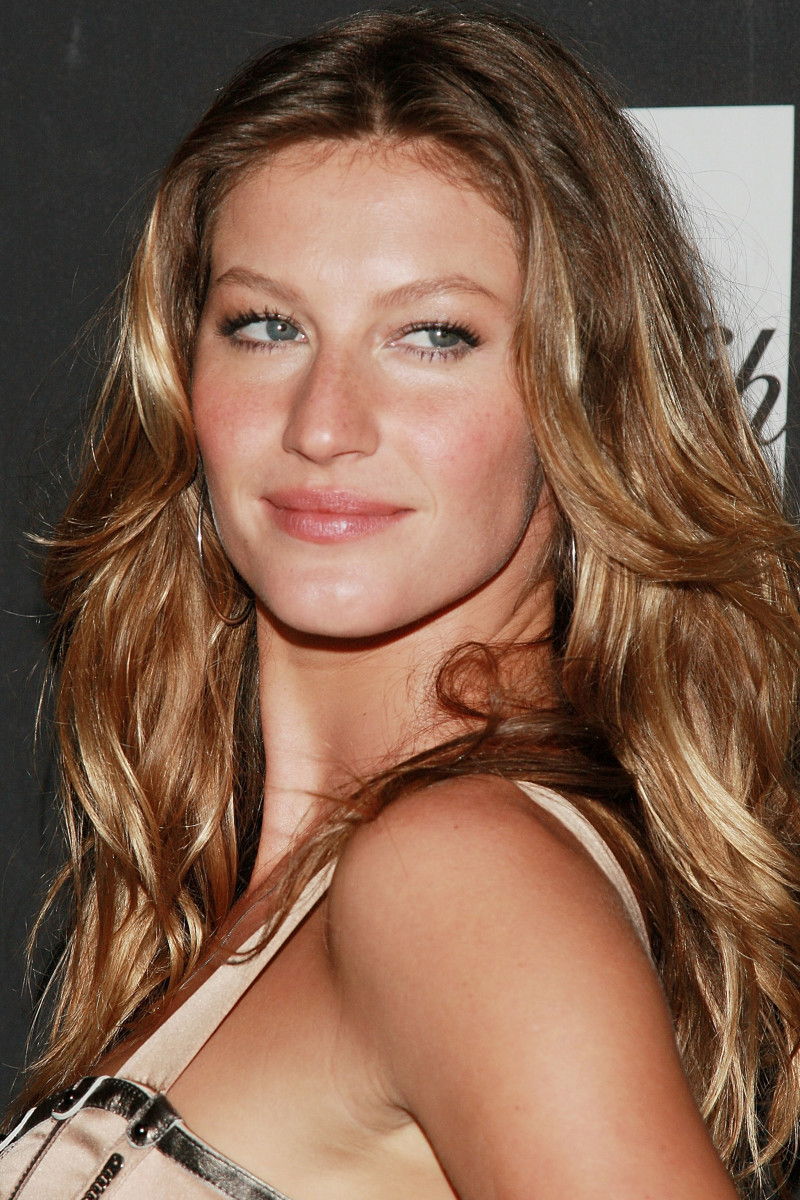
Gisele Bündchen does this a lot, too:
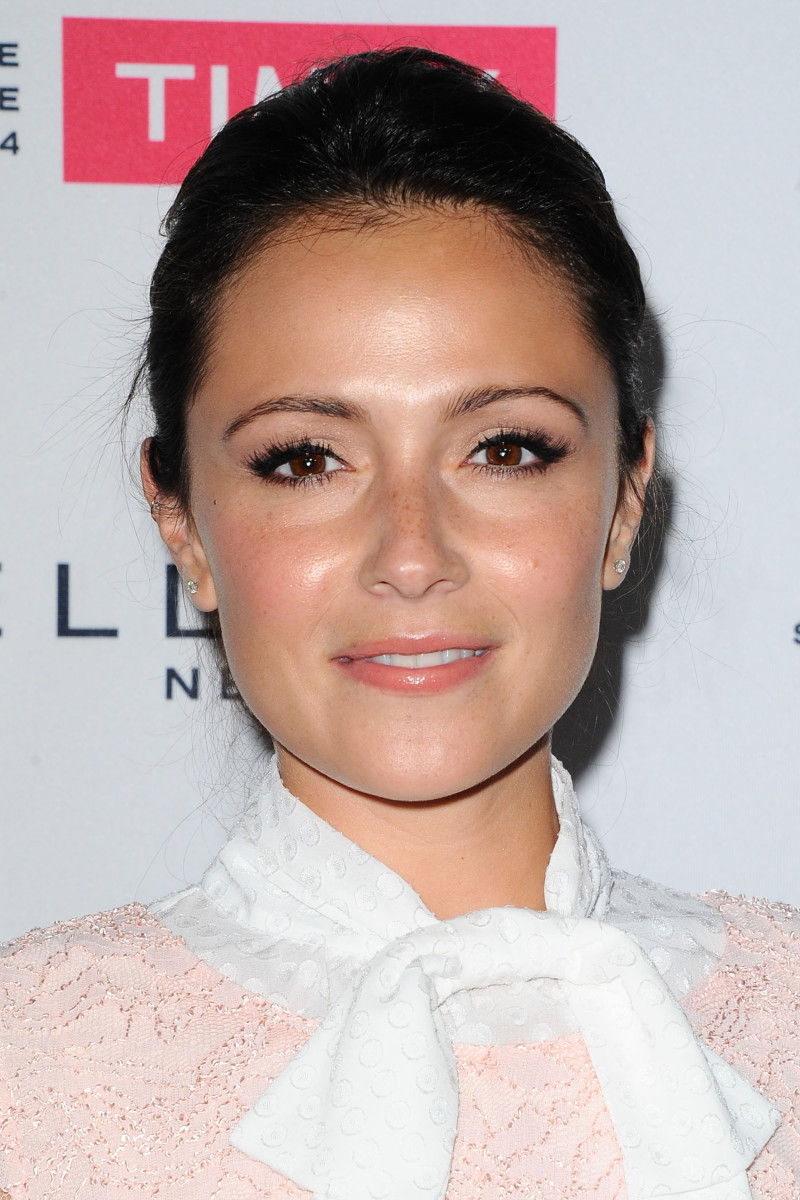
Also Italia Ricci:
And here's the same idea at Michael Kors (too red, but it's exaggerated, as is the norm for runway makeup):
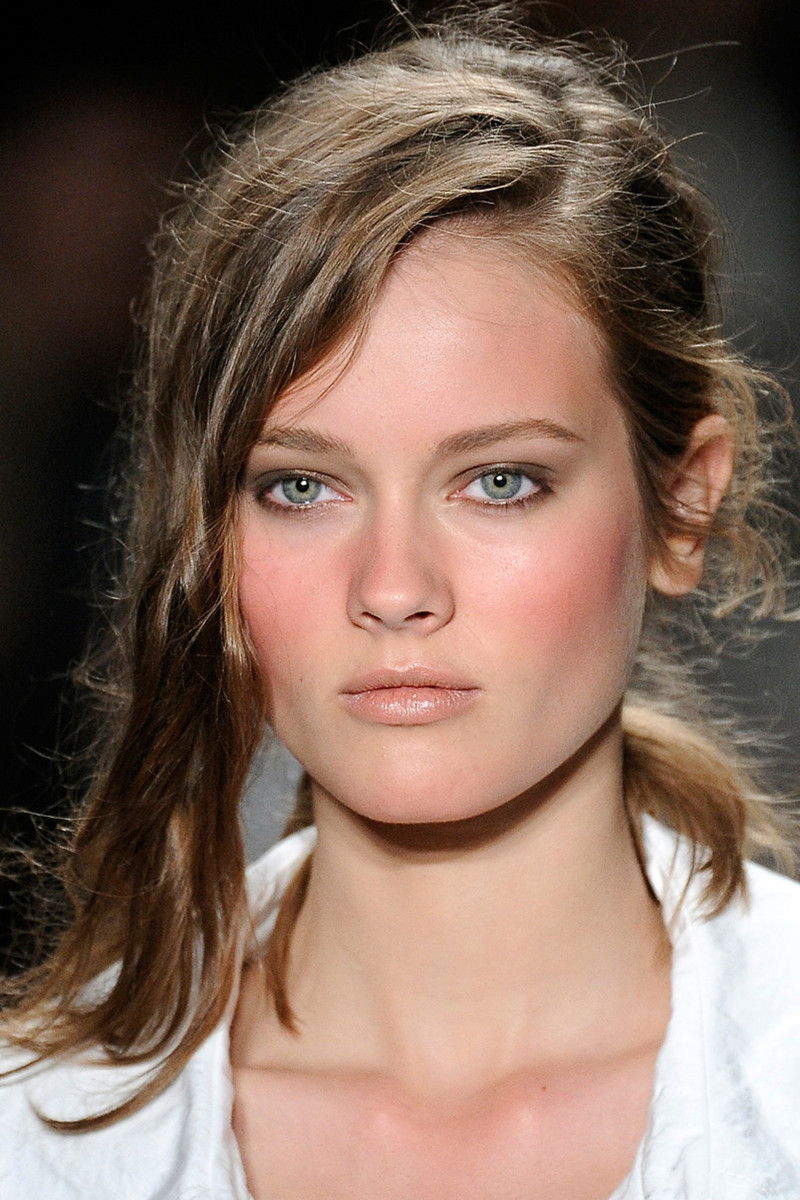
What I'm talking about is that flush that goes right across the cheeks and the bridge of the nose, to mimic where the sun would naturally hit.
Although I couldn't find an example on darker skin, I think this could work on anyone, provided you use the right (i.e. realistic-looking) shades.
Step 1: Create a Tan
The first product I recommend, to add tanned colour, is new RMS Beauty Contour Bronze. It's a bronzer and contour in one, and what makes it unique are its brown undertones (as opposed to the usual red-oranges in 99 percent of bronzers). Like all RMS products, it has a cream texture, which looks much more authentic on the skin than powder.
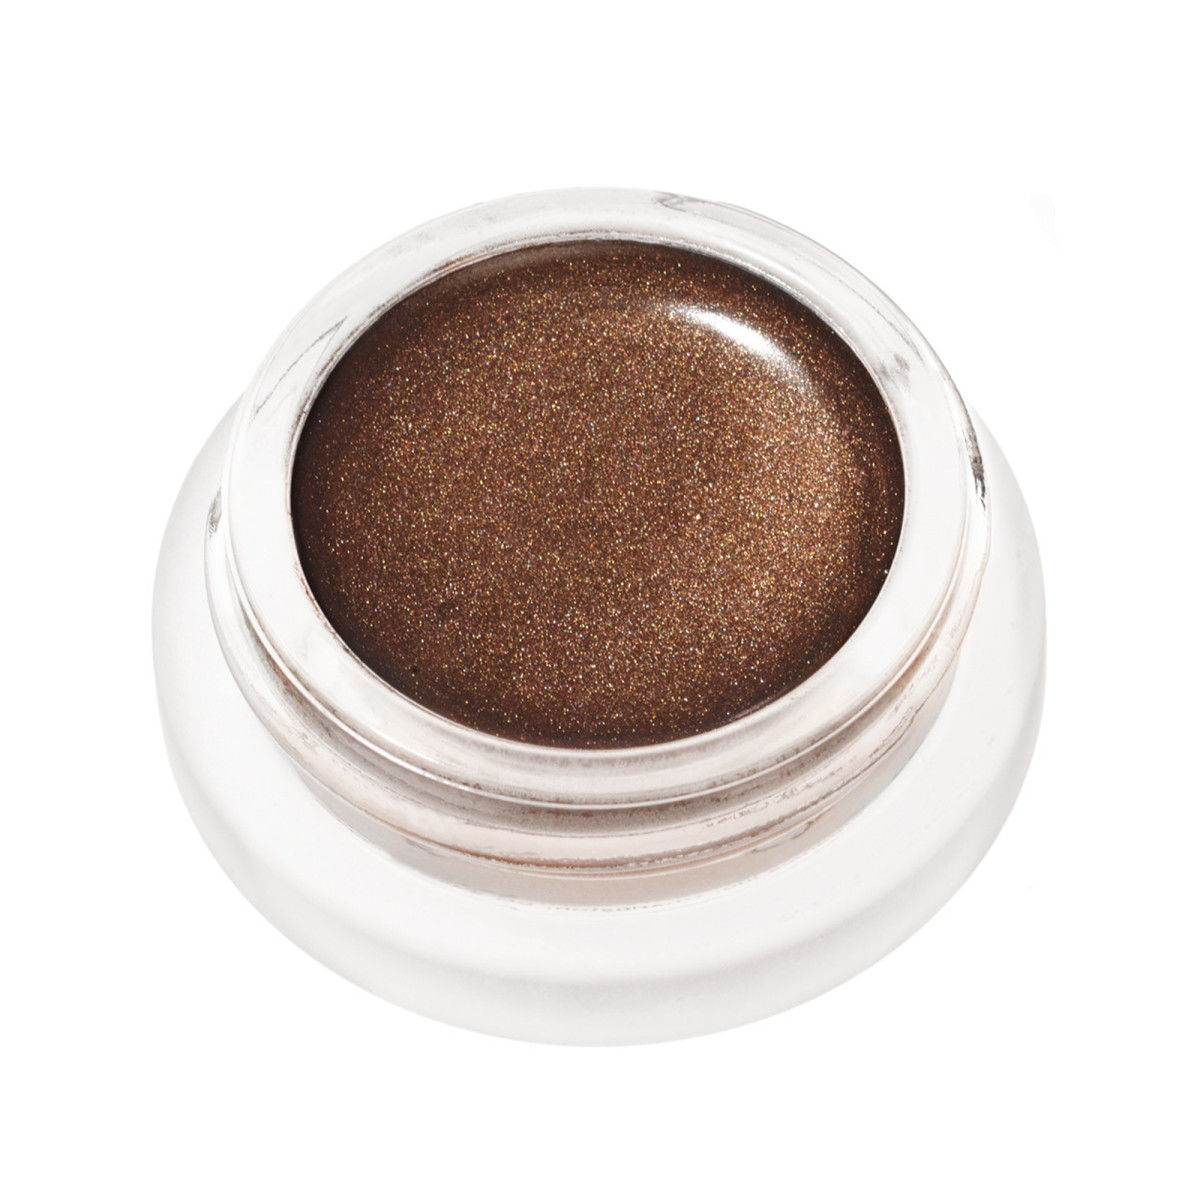
If I were to use the Contour Bronze as contour, it would be too dark, but it looks completely natural when I apply it the way we're going for here—across my cheeks and the bridge of my nose. (It's also very buildable, if you need more intensity.)
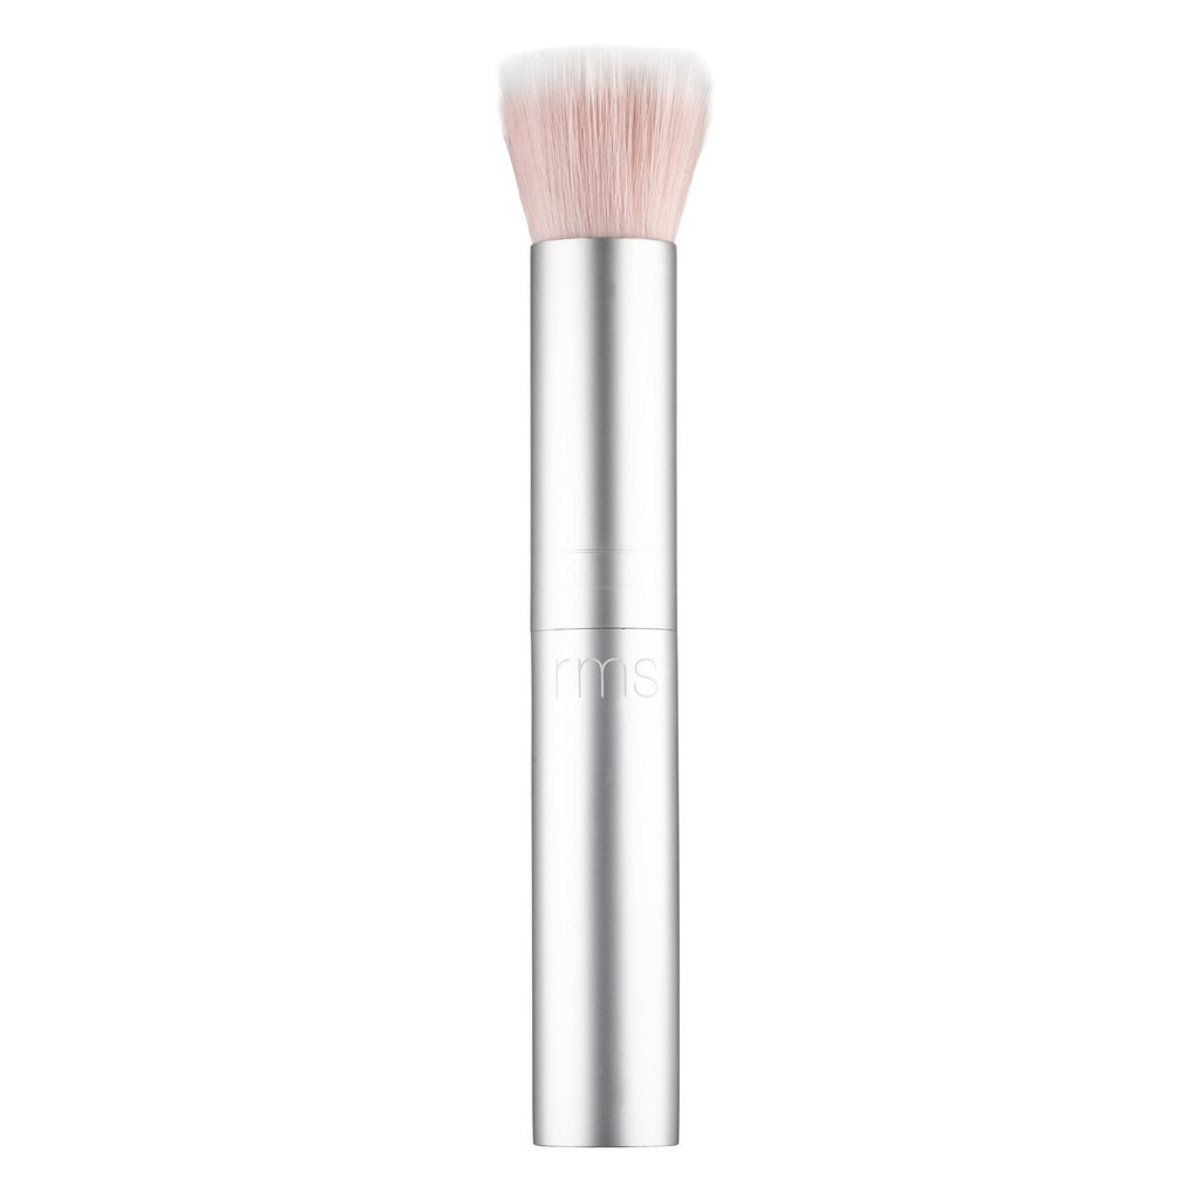
I blend it on with the RMS Beauty Skin2Skin Blush Brush, which I also have to mention because it makes ALL the difference when applying cream products. It buffs the pigment into the skin for a truly seamless finish that doesn't even look like you're wearing makeup.
Step 2: Add a Tawny Blush
You might be happy with how that looks alone, especially if you've already got a bit of a tan. Otherwise, I like to add some cream blush on top—concentrated across the nose and inner cheeks—to exaggerate the sunburnt effect even more.
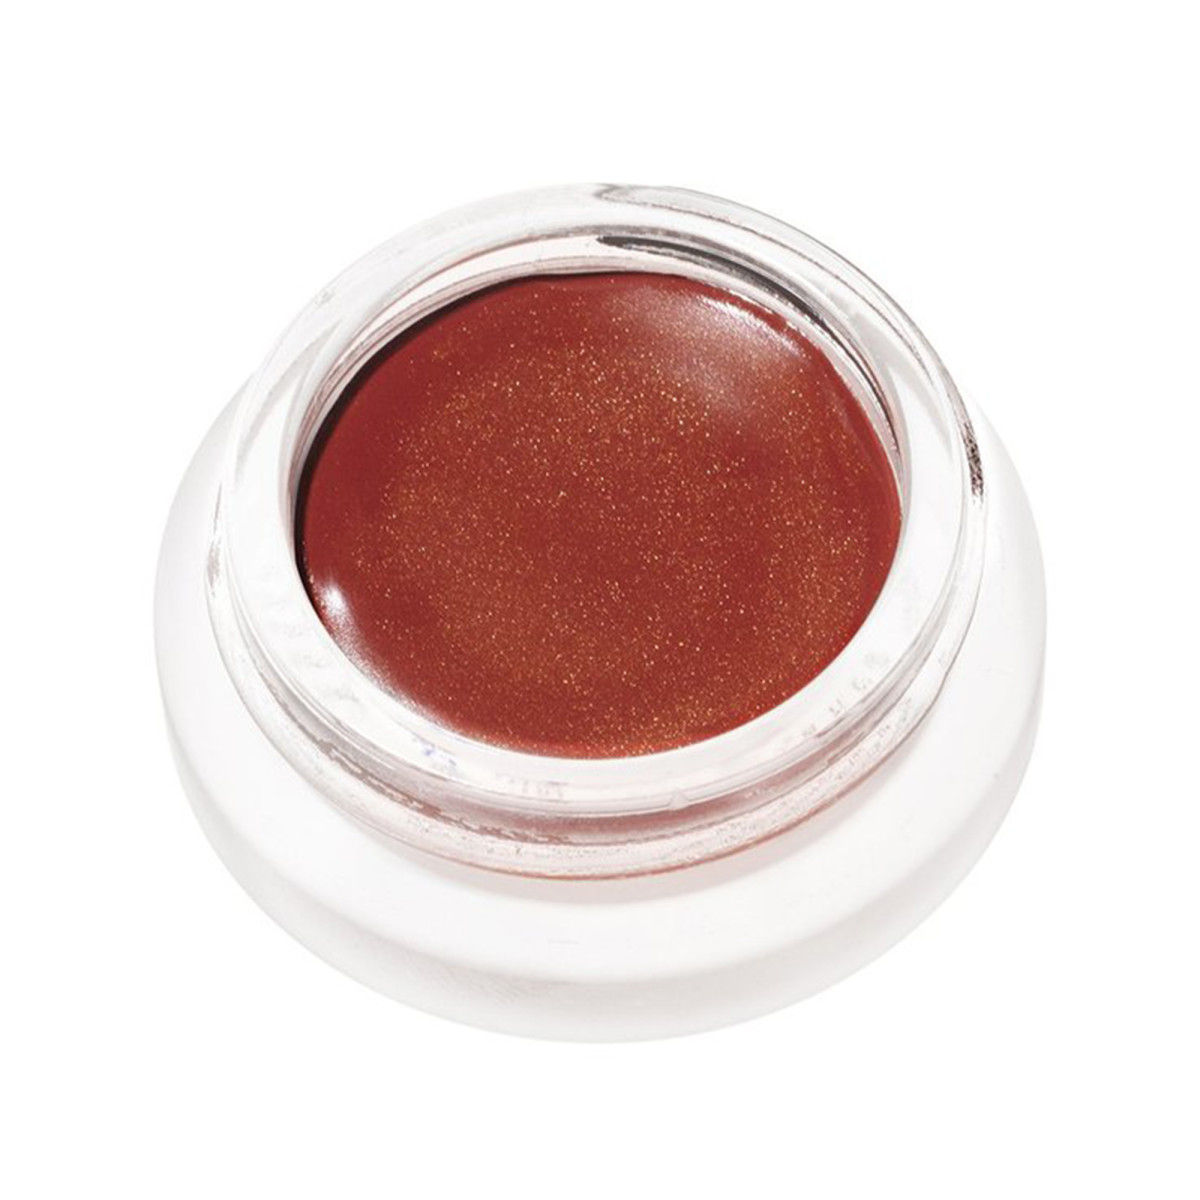
Instead of the usual pinks and peaches, I suggest looking for warmer, deeper, tawnier shades, such as RMS Lip2Cheek in Promise. This is described as a salmon pink with subtle gold shimmer, but you'll not be able to see the shimmer on your skin—it's more like a “your lips, only better” type of shade. On the nose and cheeks, the effect is very much like burnt skin (but in a good way!).
Again, I use the Skin2Skin Brush to apply it, but only where I'd get a sunburn. (I'm more liberal with the Contour Bronze all over my cheeks.)
Although I'm partial to the RMS Beauty line, you could also do this with other cream products, such as:
- Stila Convertible Color in Peony or Camellia
- Charlotte Tilbury Beach Stick in Ibiza
- Chanel Les Beiges Healthy Glow Sheer Colour Stick in No. 20 (reviewed here)
- Bite Beauty Multistick in Cashew (reviewed here)
Step 3: Fake Some Freckles
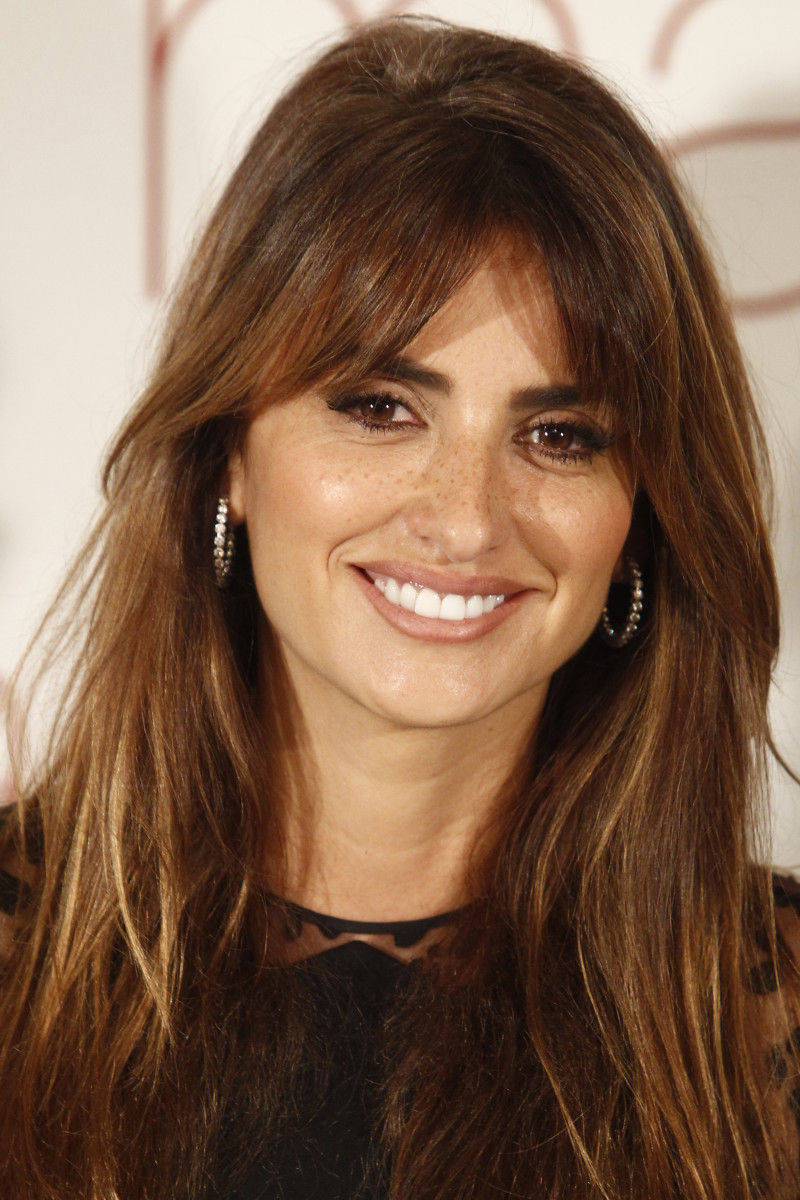
One more thing… if you're REALLY into this look, for extra cuteness points, you can add fake freckles! Penélope Cruz draws them on all the time:
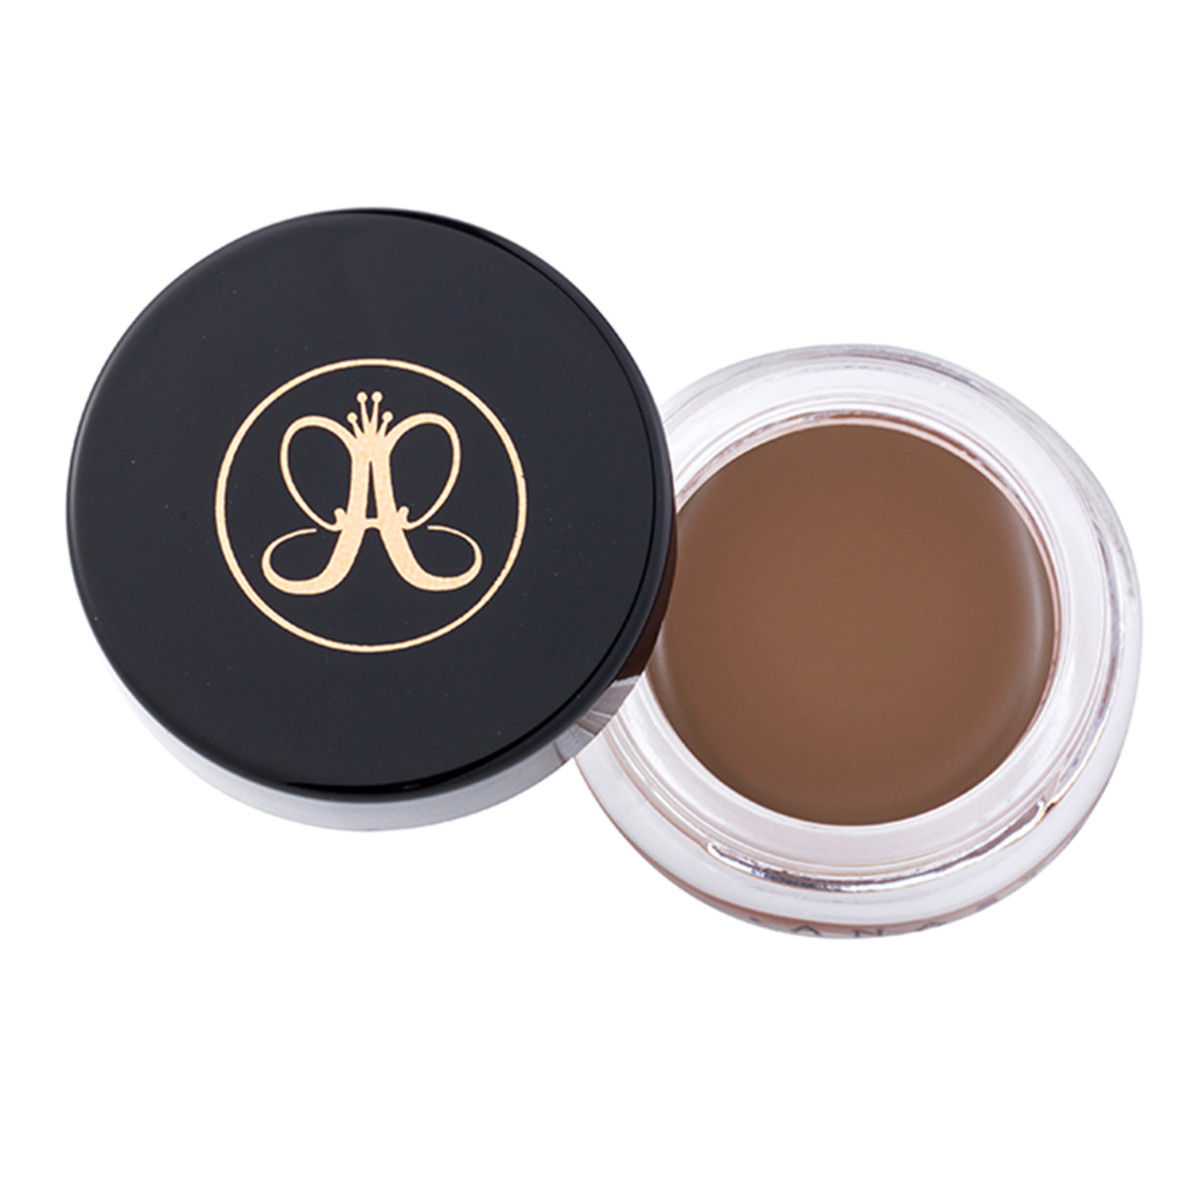
So do I, once my own start to fade. The most realistic freckle-maker I've found is Anastasia Beverly Hills Dipbrow Pomade in Taupe. (You might think Blonde would be better, but it's actually too reddish.) This is a waterproof cream that really stays put.
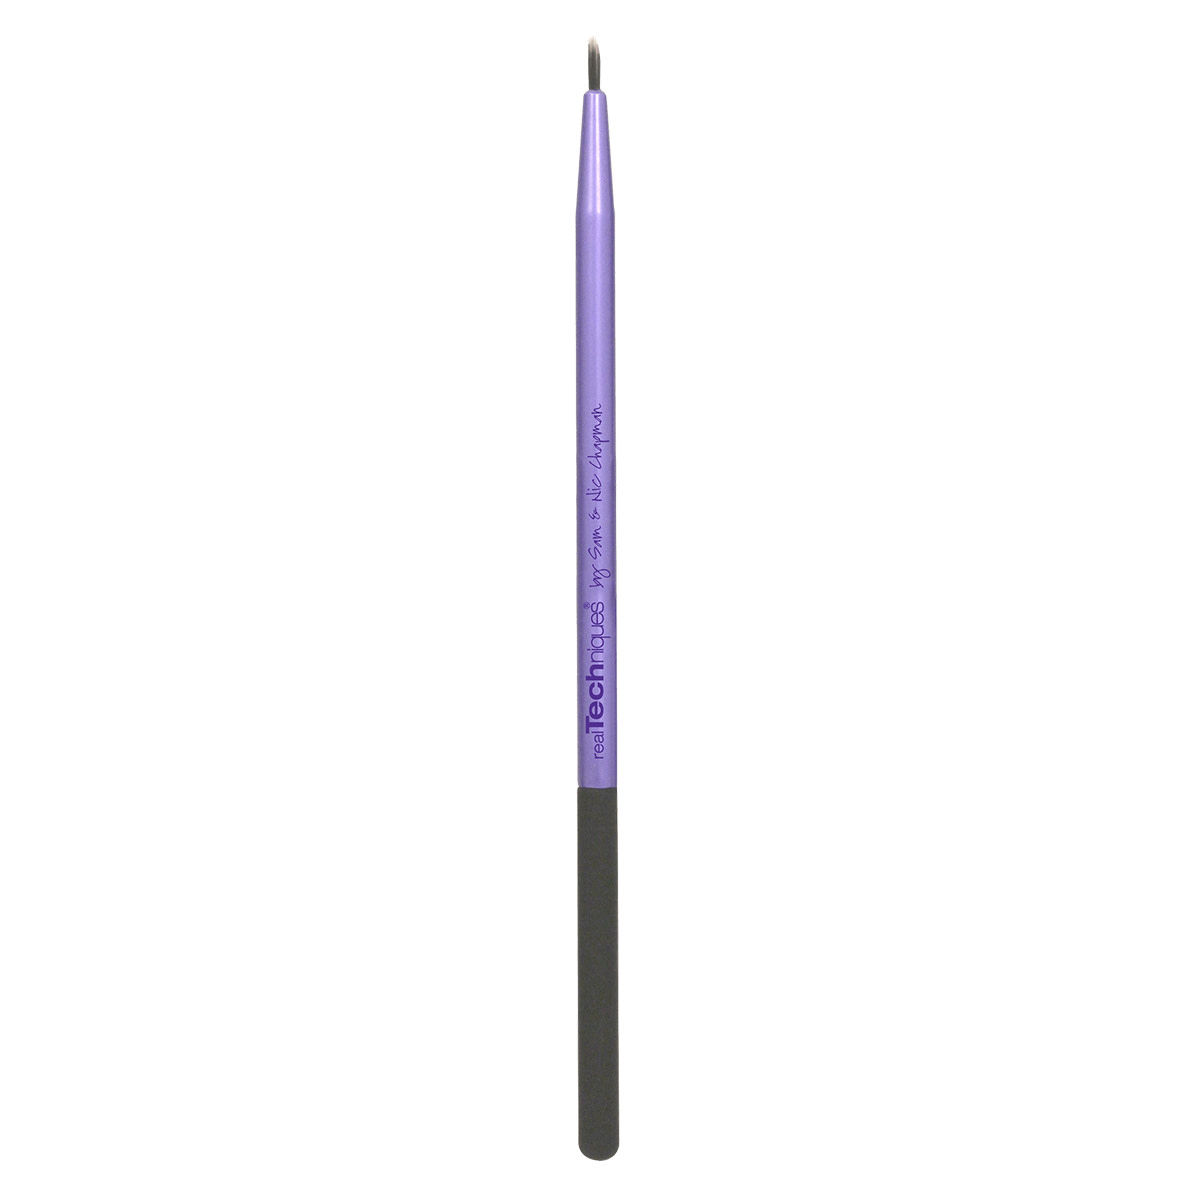
You need a tiny, pointed-tip brush to stipple on the fake freckles—I use the Real Techniques Silicone Liner Brush. Then, just smudge a bit with a fingertip, and your sun-kissed look is complete!
I hope this helps you get the faux sun-kissed look you've been after!
