How to Make Your Lipstick Last All Day
I‣ve recently had an epiphany: lipstick is amazing!
Throw a little on and you instantly look polished. If you wear glasses like I do, it‣s often the only makeup you need to wear, and it really makes an impact.
But yes, I know I‣m a little late to the lipstick party. I tend to shy away from anything that you need to reapply often. Who can remember to take a minute and spruce up after meal? Or worse, when I do want to reapply, I usually can't find my lipstick—which seems to mysteriously gets lost in the inner recesses of my purse, never to be found again.
Luckily, after a lot of smeared lipstick and a lot of frustration, I finally discovered a way to apply lip colour that lasts for HOURS. I've managed to go to work, then a boxing class, and then to my favourite snack shop to eat the most amazing cheeseburger—without reapplying! Pretty amazing, right? (Please don't tell my boxing instructor that I ate a burger after his class… sorry Tony!)
This multi-step process is not for the faint of heart, but the results are definitely worth the extra time.
Step 1
Prep your lips by exfoliating them and then moisturizing with your favourite lip balm.
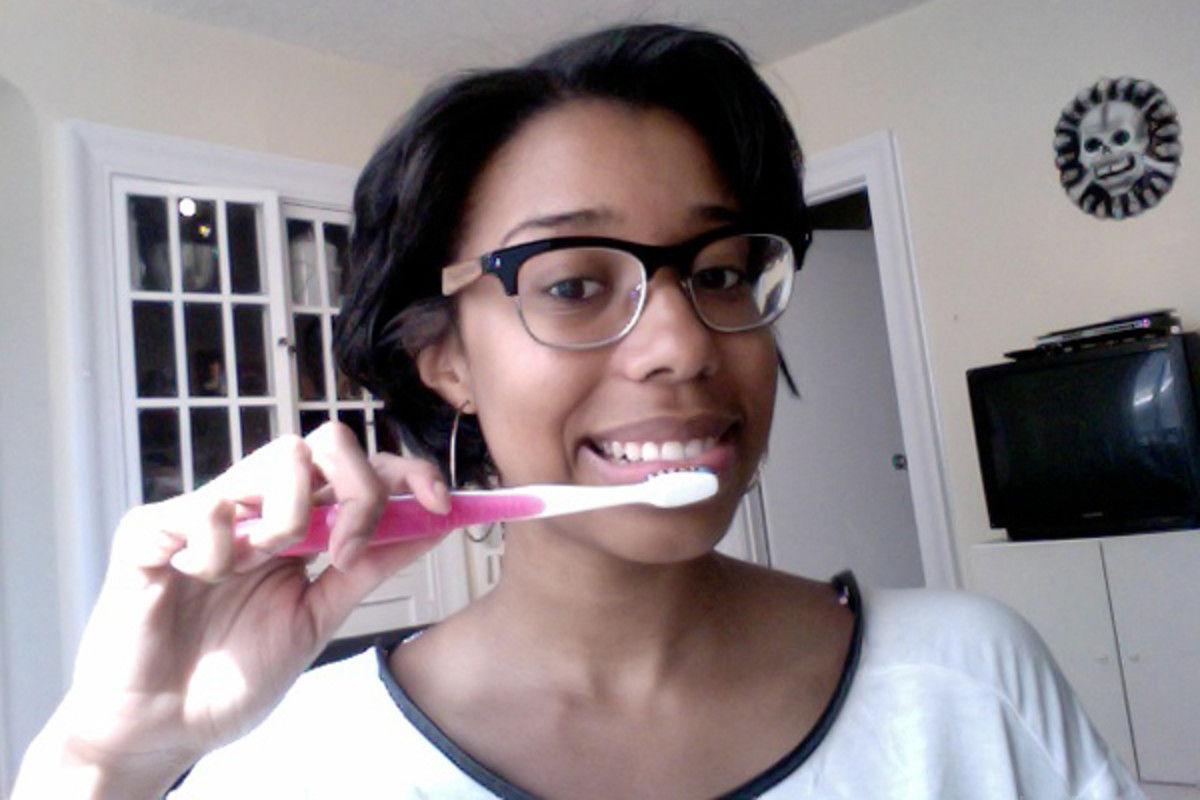
This is the most important step, so if you feel like skipping anything, skip a step lower down on the list! Scrubbing your lips will make them more readily able to take in moisture, which is very important when you wear lipstick—especially matte colours—as they can be very drying. There are a ton of lip scrubs and buffers on the market, but I am a bit of a sucker for products that you can make in your kitchen. I like to mix a little olive oil, honey and brown sugar together in equal parts, and then work the mixture onto my lips with an old toothbrush before rinsing off. You can make enough to last a few days and store it in an air-tight container. It works like a charm and won't do any harm if you “accidentally” taste it.
As for lip balm, I like to use Burt's Bees Classic Beeswax Lip Balm. It's better to use something that isn't overly greasy or you'll have a problem with the lipstick actually adhering to your lips.
Step 2
Line your lips with a liner in your colour of choice to prevent your lipstick from bleeding.
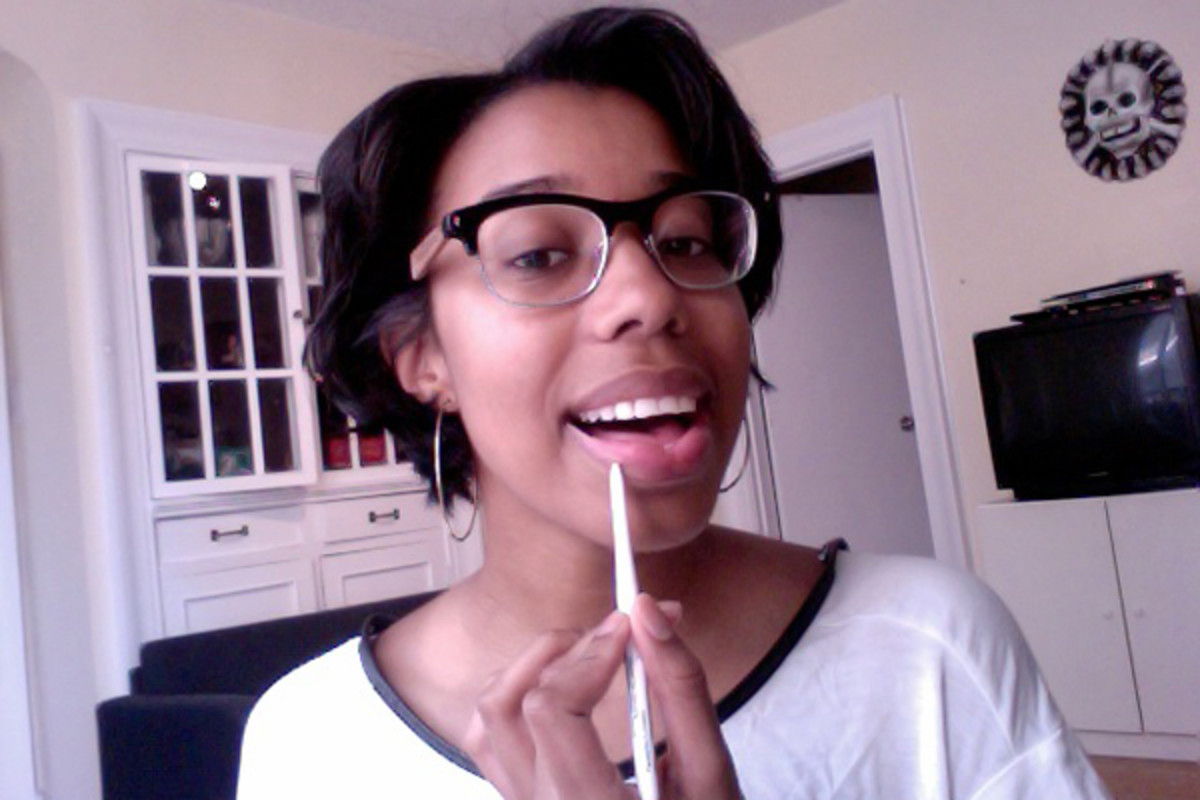
I use Lise Watier Virtual Lip Colour. It is colour-free so it works with everything.
Step 3
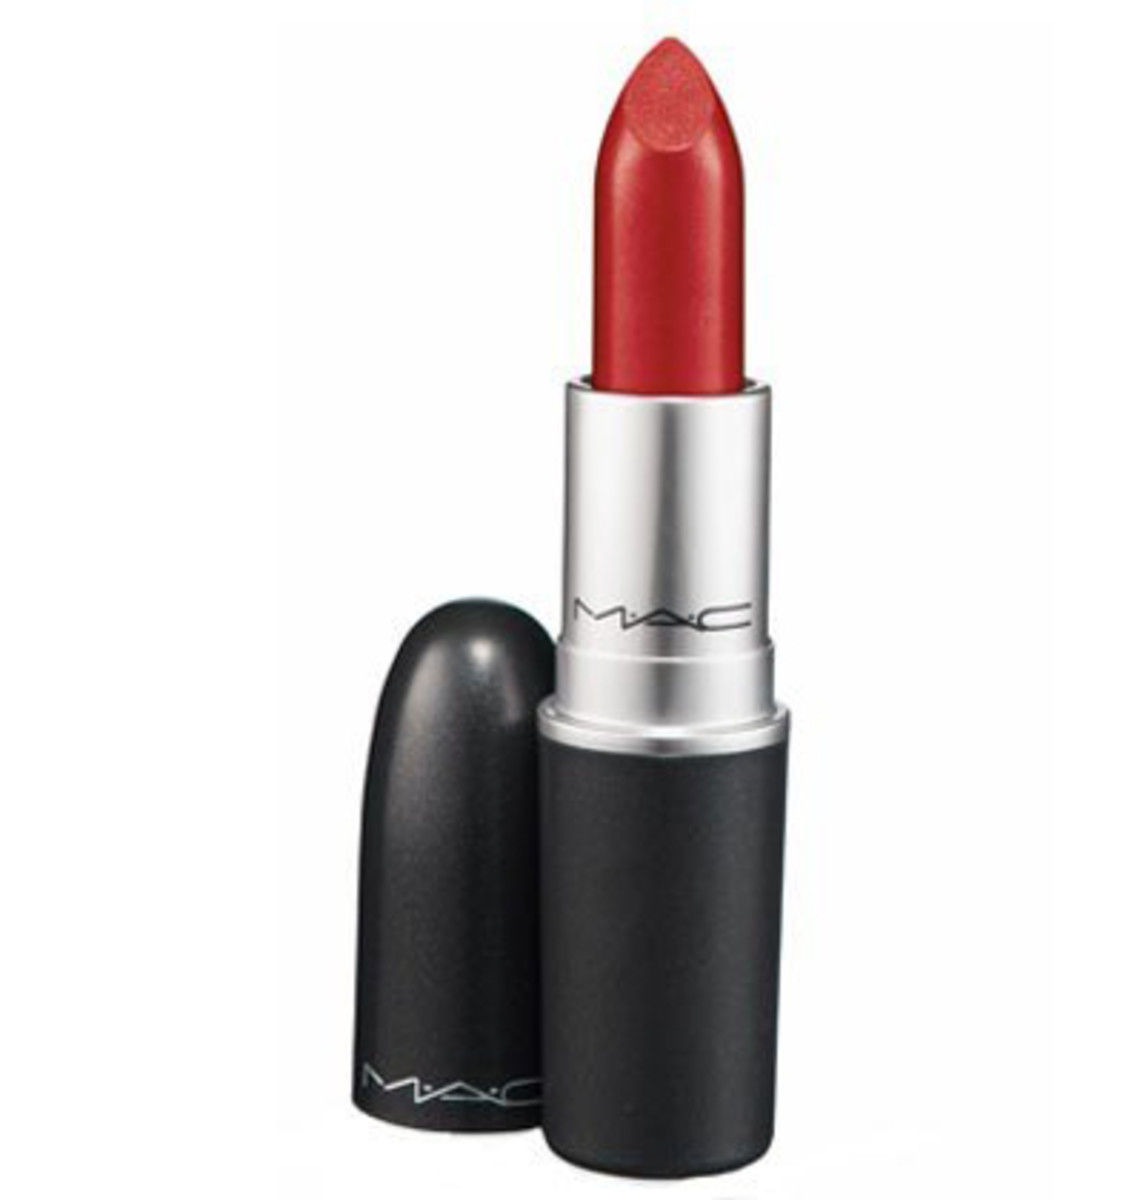
Fill in your lips with your favourite lipstick.
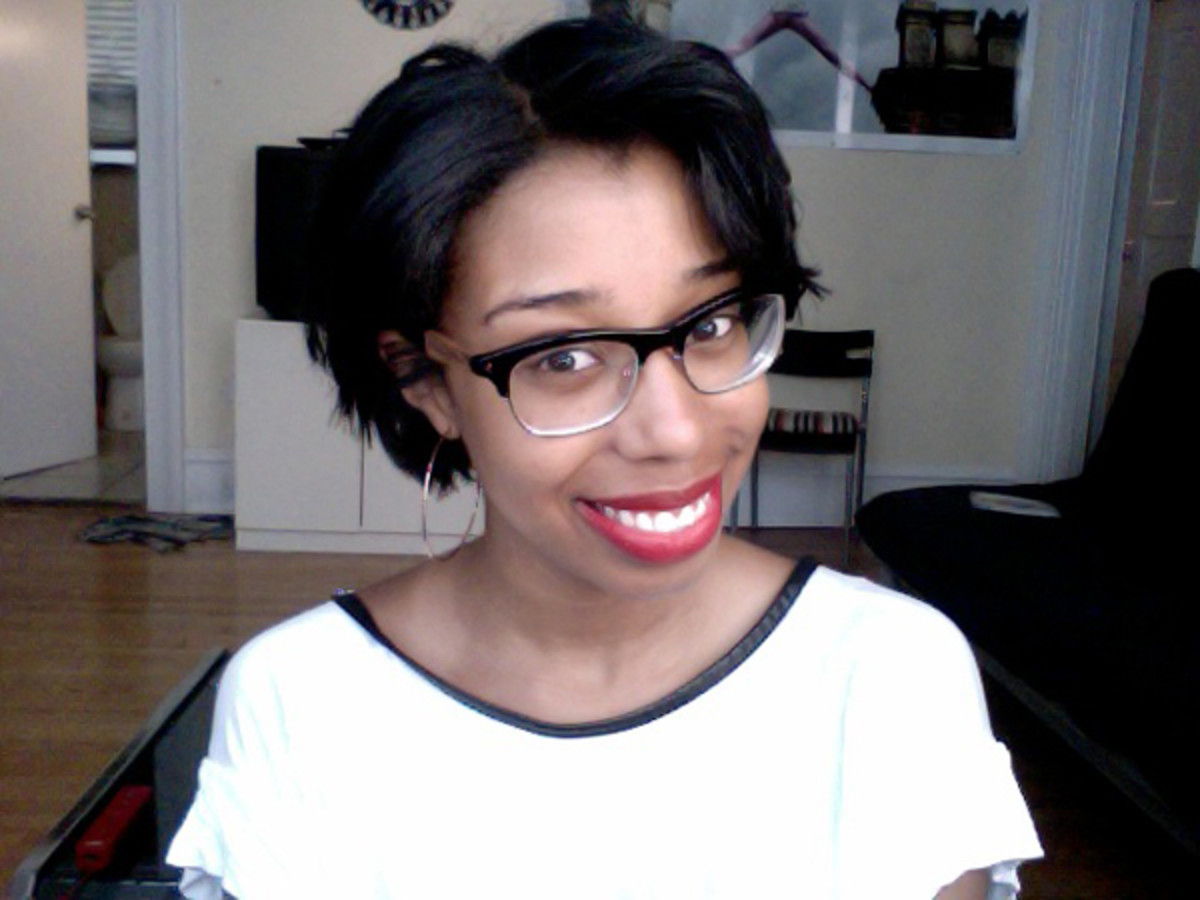
I‣m currently obsessed with MAC Lipstick in Ruby Woo (pictured at the top of this post). In my experience, reds with an orange undertone are not the most flattering on me (which is probably why I previously stayed away from red lips in general), however Ruby Woo has a blue undertone that works really well with my skin. I absolutely love it and I am eternally grateful to the makeup artist at MAC who helped me pick it out.
It does have a downside though—it's extremely drying! So, if you do use Ruby Woo make sure not to skip Step 1.
Step 4
Blot off excess colour with a tissue.
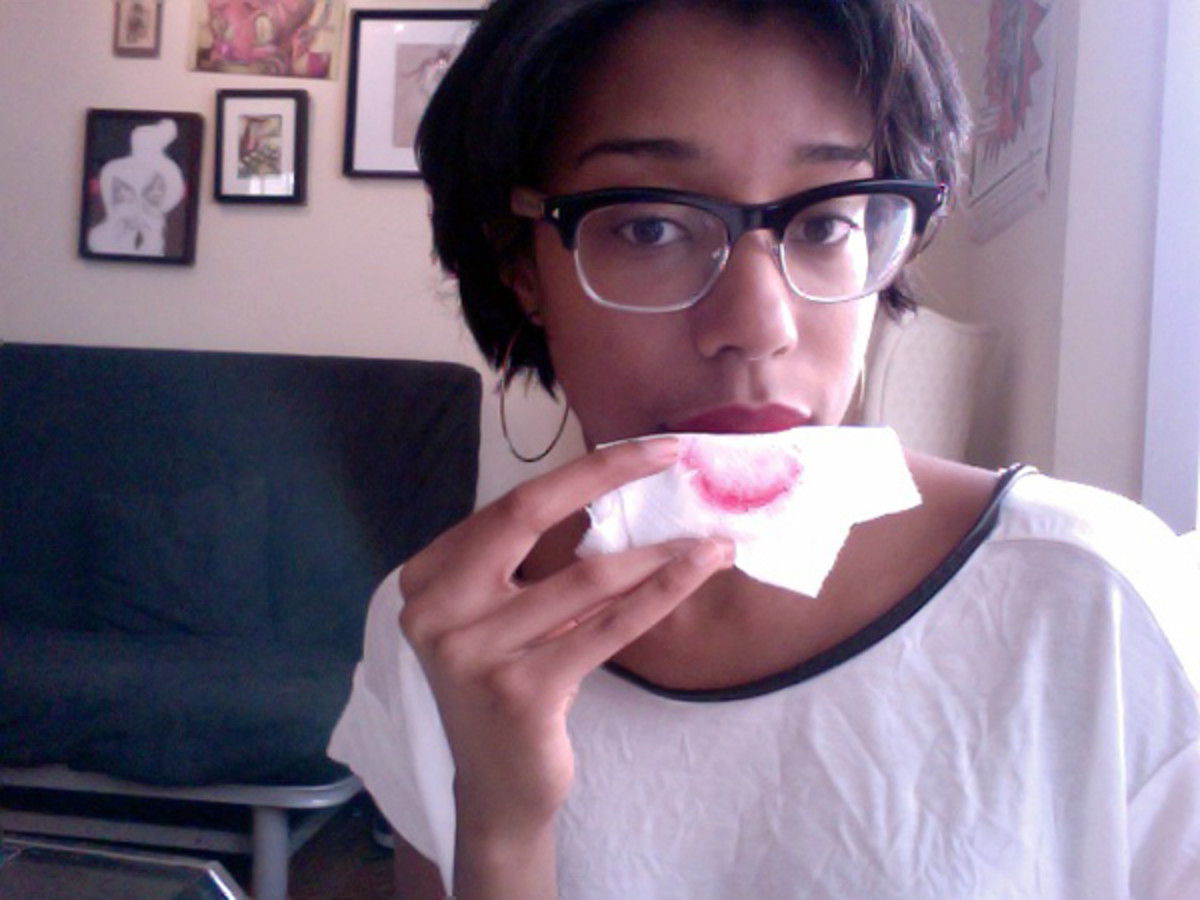
This helps to set the colour —making it last a little longer— and gets rid of excess lipstick that can end up on your teeth.
Step 5
Powder your lips using a loose or pressed powder in whichever shade you would use to set your foundation.
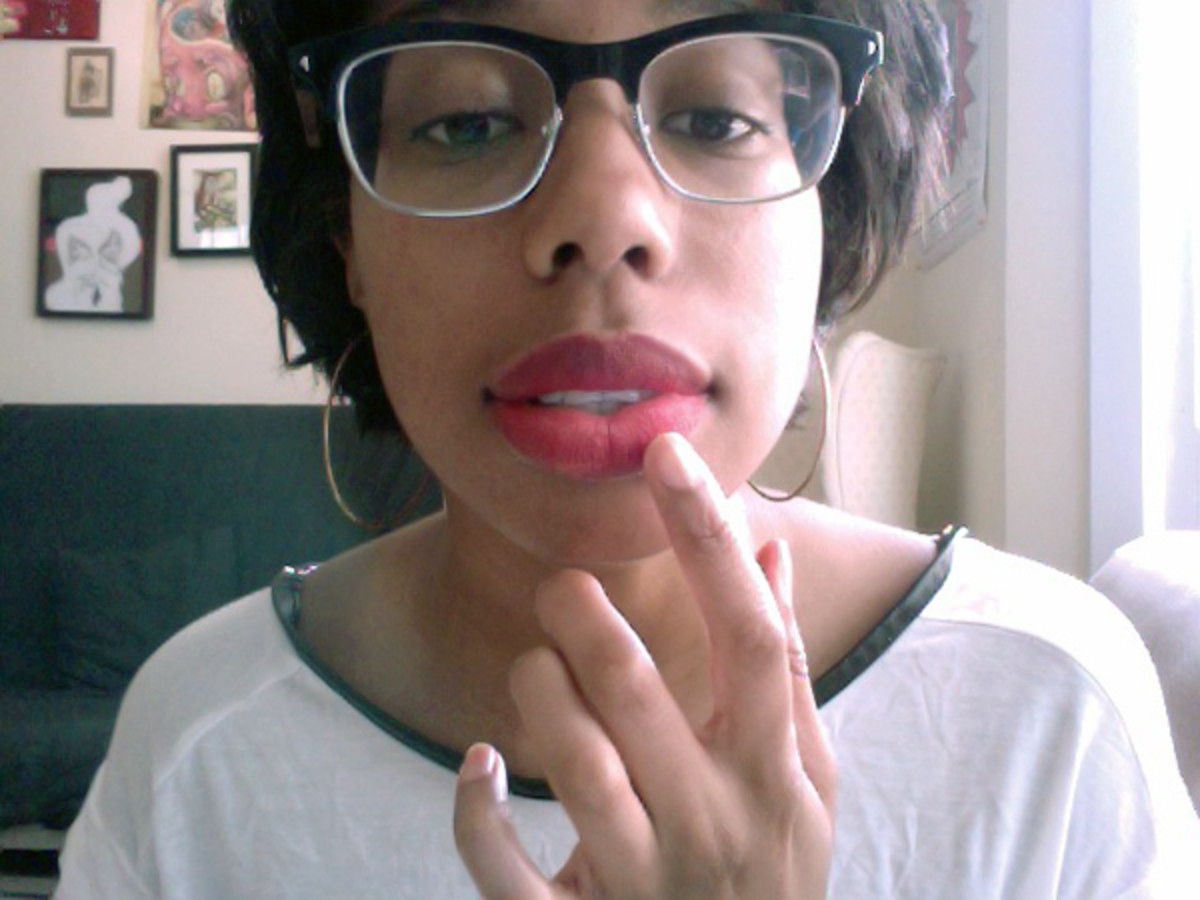
Load up an eyeshadow blending brush, or any brush you have handy and apply a light layer of powder to your lips. Feel free to use your fingers as I have in the above photo. The powder acts as a sealer for the lipstick; it dries out any excess moisture in your lipstick to lock it in place, kind of like how blotting sets the colour multiplied by a million. See why you want to exfoliate and moisturize?
A word of caution: too much powder will cause your next layer of lipstick to flake and make you look like you have hideously dry lips. Not really the look we're going for, so use sparingly.
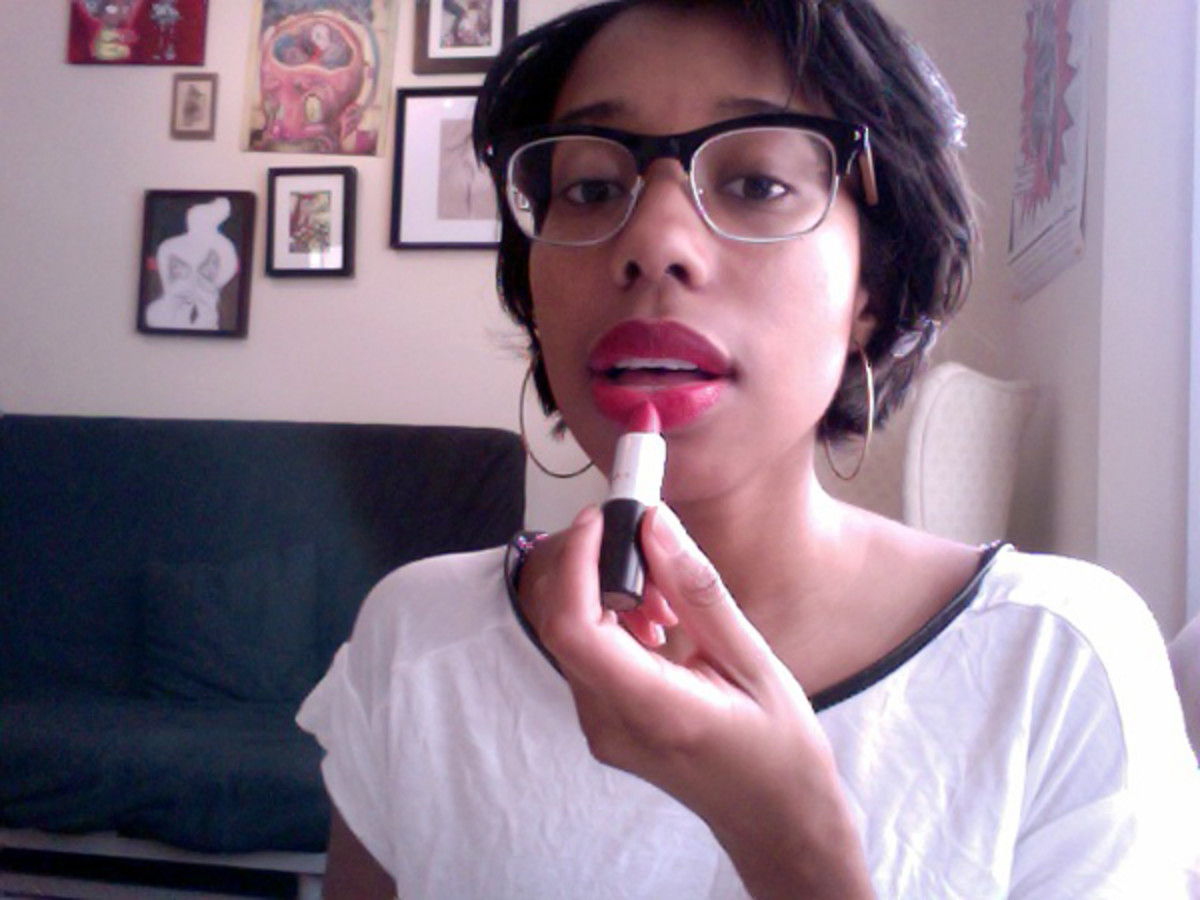
Step 6
Apply another layer of lip colour. (I tend to re-do steps 4 to 6 at least twice more because my lips are naturally dark and the colour doesn‣t always look like it does in the tube on the first try.)
By the way, if you have naturally dark lips like I do you may want to insert one extra step (I know, but hear me out!). If I want to wear a lighter colour —like one of the bright spring/summer colours that we all saw strutting down the runways— I'll use a tinted moisturizer (or foundation or concealer; they work just as well) to mute my natural lip colour. Then I follow with loose powder like I did in Step 5 before I apply my lip colour. This is a great way to get your lipstick to look exactly as it does when you test it on the back of your hand.
And there you have it! It may sound like a great deal of effort, but just think of how many burgers you can eat.
Have you tried these tricks for making lipstick last?
Got any other good lipstick tricks?
What's your go-to shade of red?
