How to Cover Anything With Makeup

Like I touched on in my “So you want to be a beauty editor…” post, people often assume that beauty editors have the same skills as actual makeup artists. SO not true. Even though I've written a zillion articles about everything from smoky eyes to liquid liner, for the most part I'm still learning and refining my makeup techniques like everybody else. (This entire site is my journey, folks.)
However. There is one area where I actually do consider myself quite proficient, and that is the art of camouflage. Probably you got the hint seeing as I've posted about this incessantly. (I'm not joking: I've talked about the most common foundation mistakes, why I love HD powders, my favourite foundations, whether you need to re-think how you're using concealer, and how I have a concealer wardrobe.) Skin is really, REALLY important.
And let's face it: nobody cares about your artful liquid liner application if you've got a flaming red spot stealing all the attention. Or a cold sore, or dark circles. So from me to you, here's your guide to hiding all the bad so people can focus on the good.
How to cover a pimple
Despite religiously taking this, one of the joys I get to experience as a woman is dealing with one or two annoying spots every month. Yay hormones!
First of all, don't pick or squeeze (but you already knew that). I've learned the hard way: it's much easier to conceal a smooth bump than an irritated, crusty, flaky one. You may even want to lay off the topical treatments if you get the cystic kind of pimples, because they'll only dry out your skin without treating the underlying inflammation.
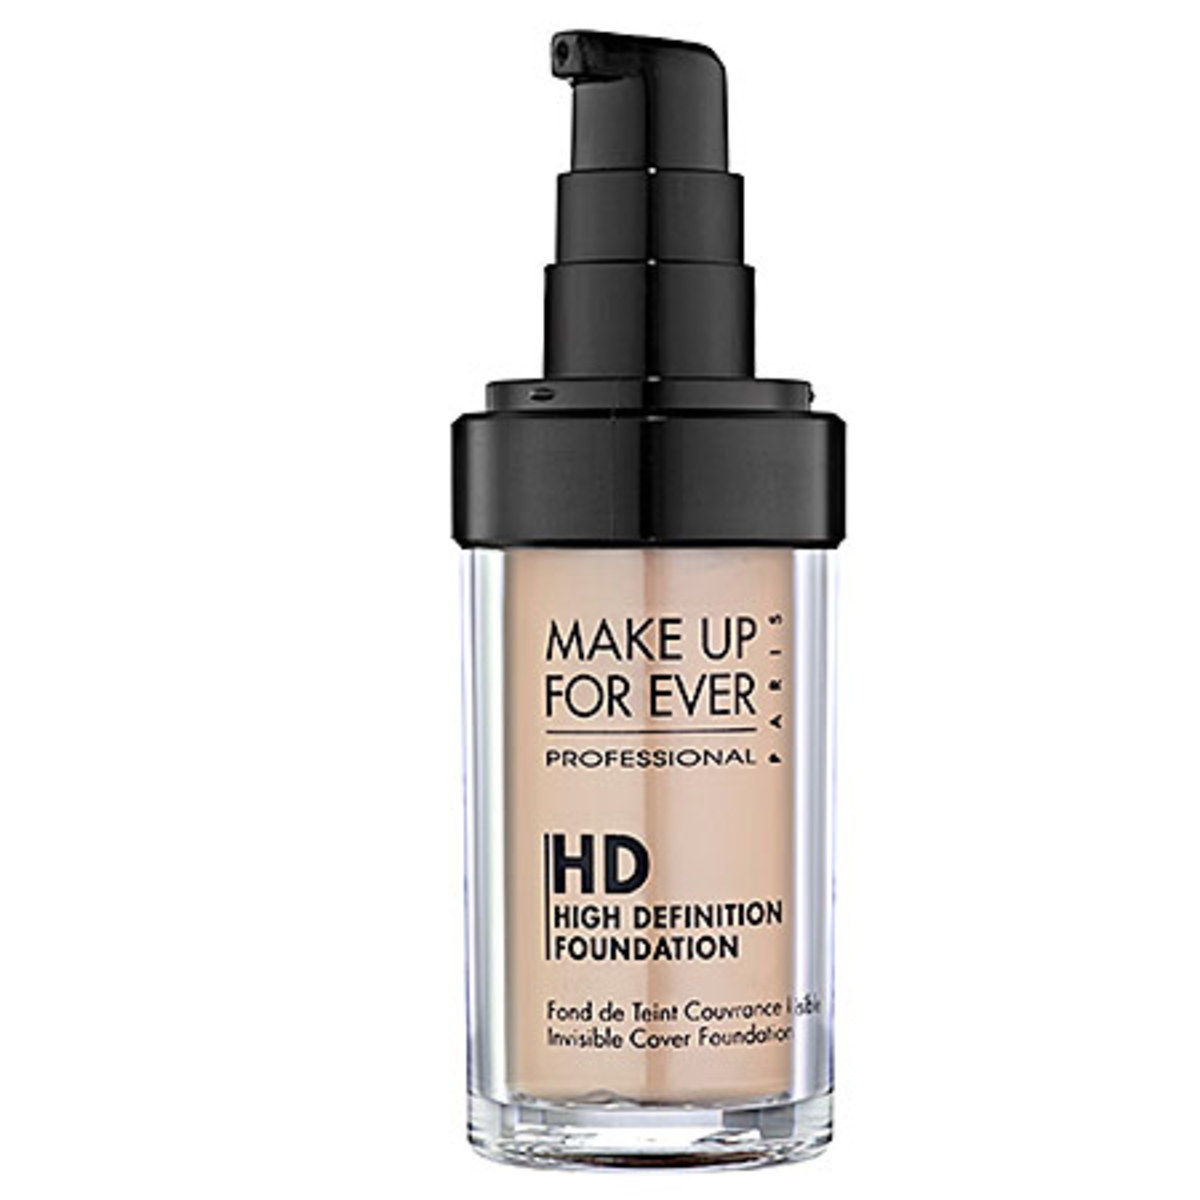
So pimples are red, yes? A lot of people swear by colour correctors—the green ones are meant to counteract the red—but I find this an unnecessary step, at least for my skin tone. What works for me is to first cover the area (along with the rest of my face) as per my usual routine with a liquid foundation. I use this foundation, because the Ivory shade is an absolutely perfect match for my skin tone and takes the redness right out.
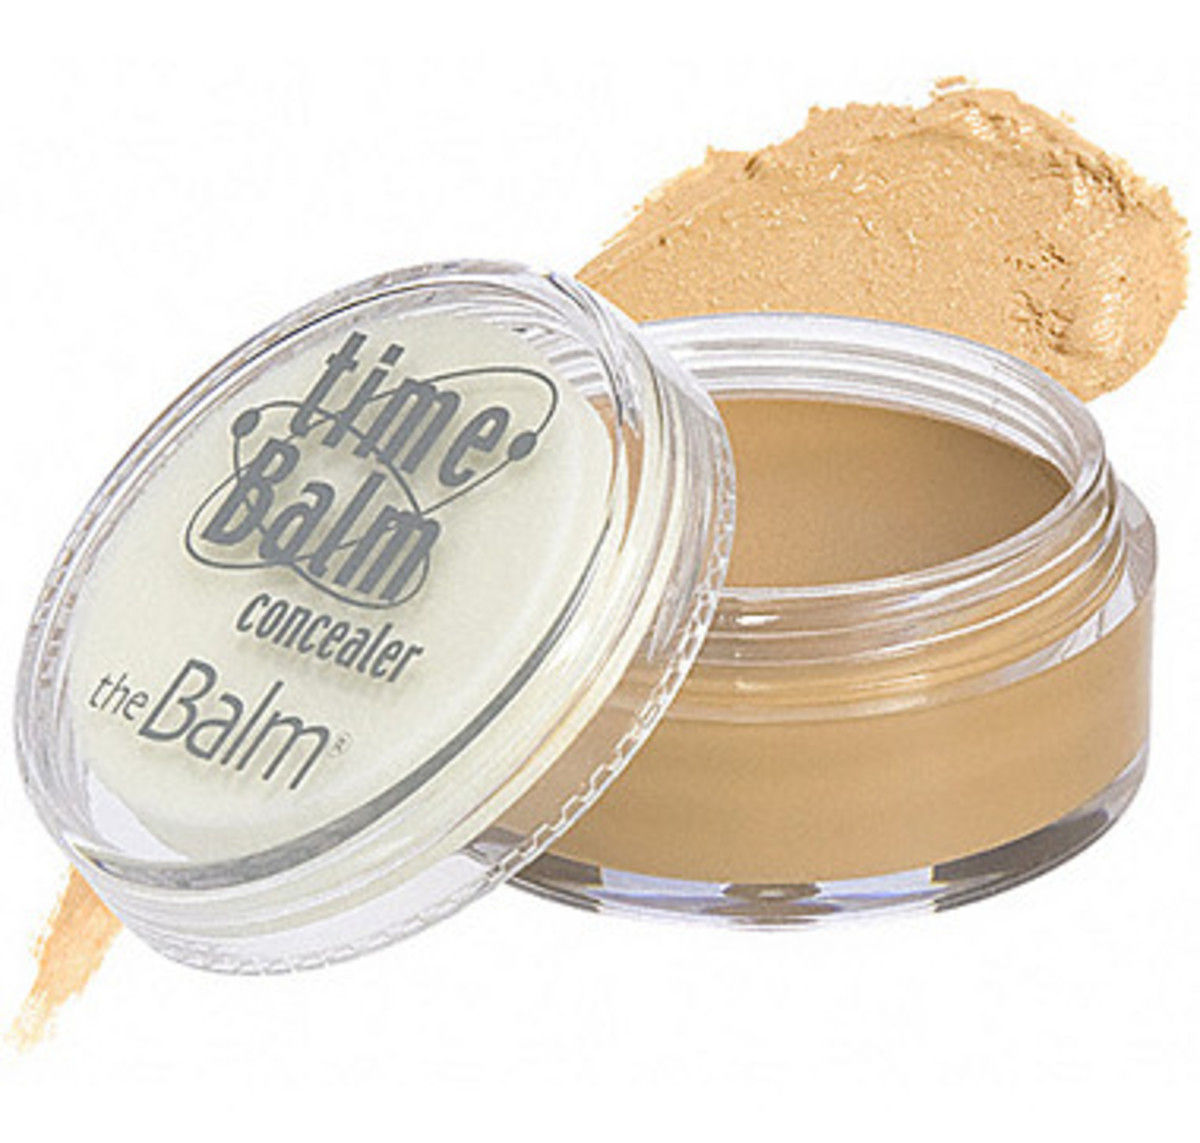
After I've applied that (with my trusty Bobbi Brown foundation brush), then I'm ready to go in and do the detail work with actual concealer. You want one with an opaque, creamy texture that will stay put and not cake or smear. The ones in a pot, like theBalm's, are great:
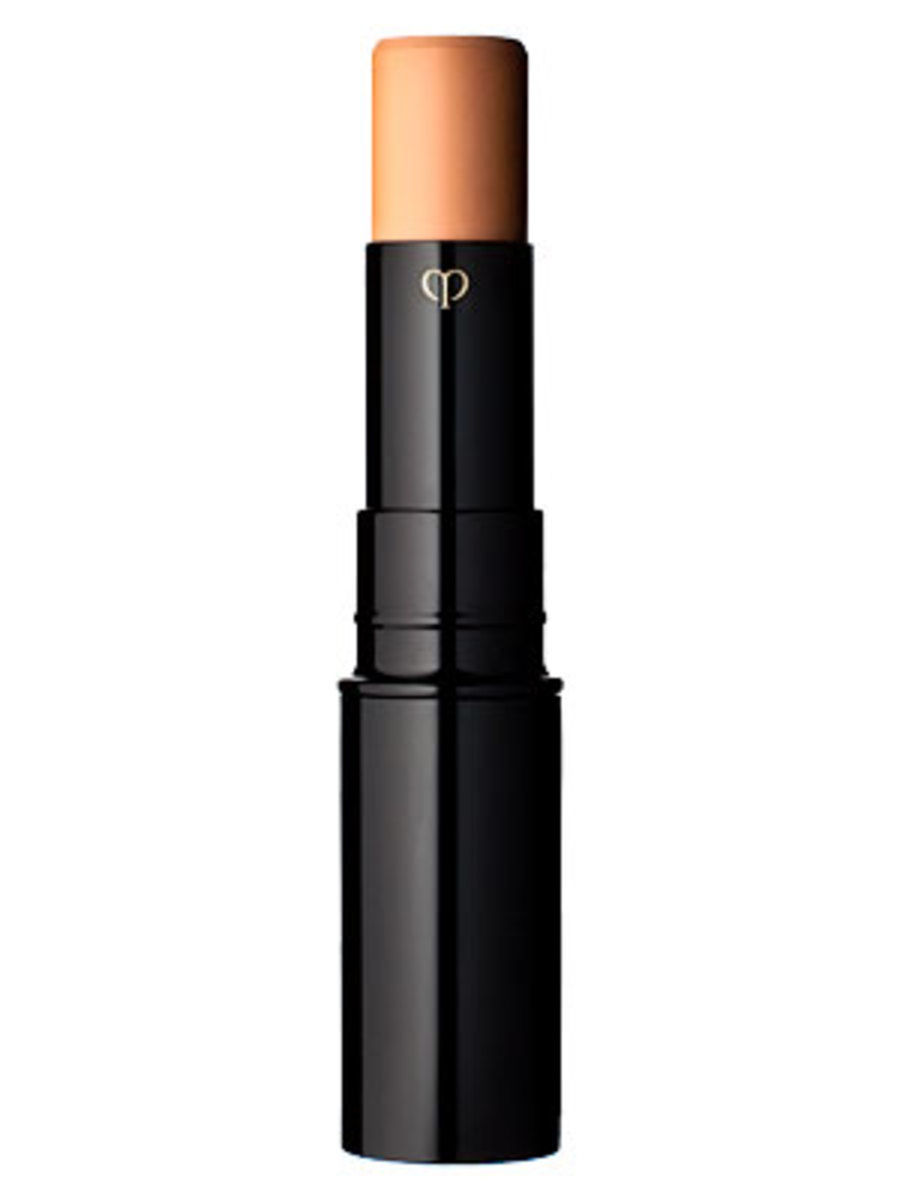
And Clé de Peau's concealer in a stick format is also fantastic. (Pricey, but so worth it—so many makeup artists have it in their kits.)
Lately, however, I'm having a real MUFE moment and enjoying their more liquidy concealers. The colour selection is amaze, and you actually don't need to set them (although you can and I do). They have one that comes in a pen:
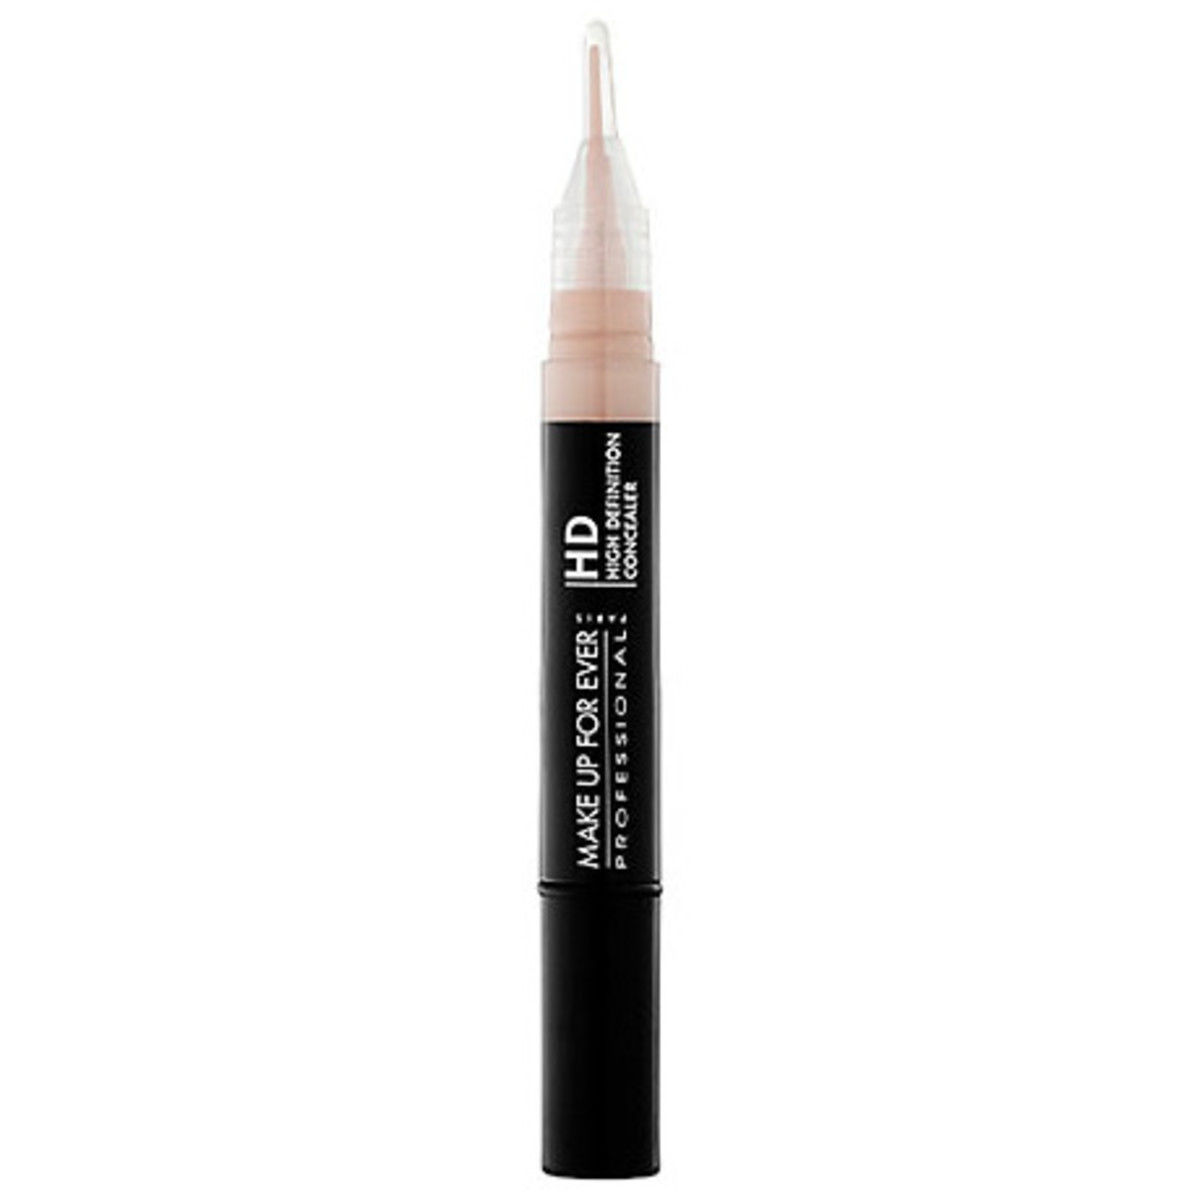
And one that comes in a tube:
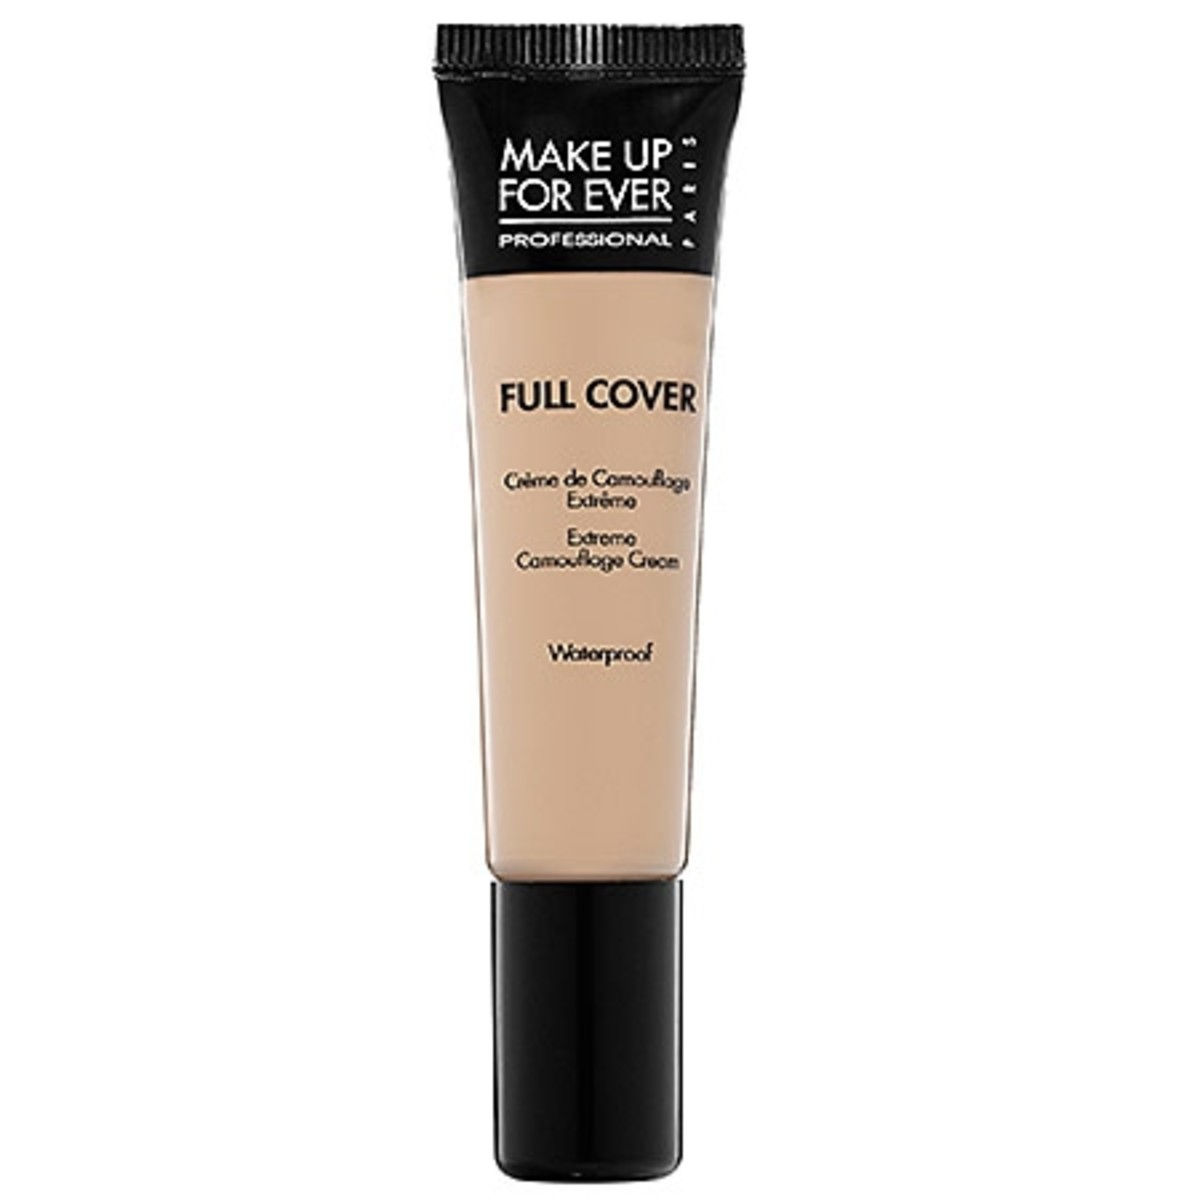
Both are super-pigmented (and I find the twisty action of the pen dispenses way too much product for covering a pimple), so that's why my lip brush comes in handy. Yes, I said lip brush:
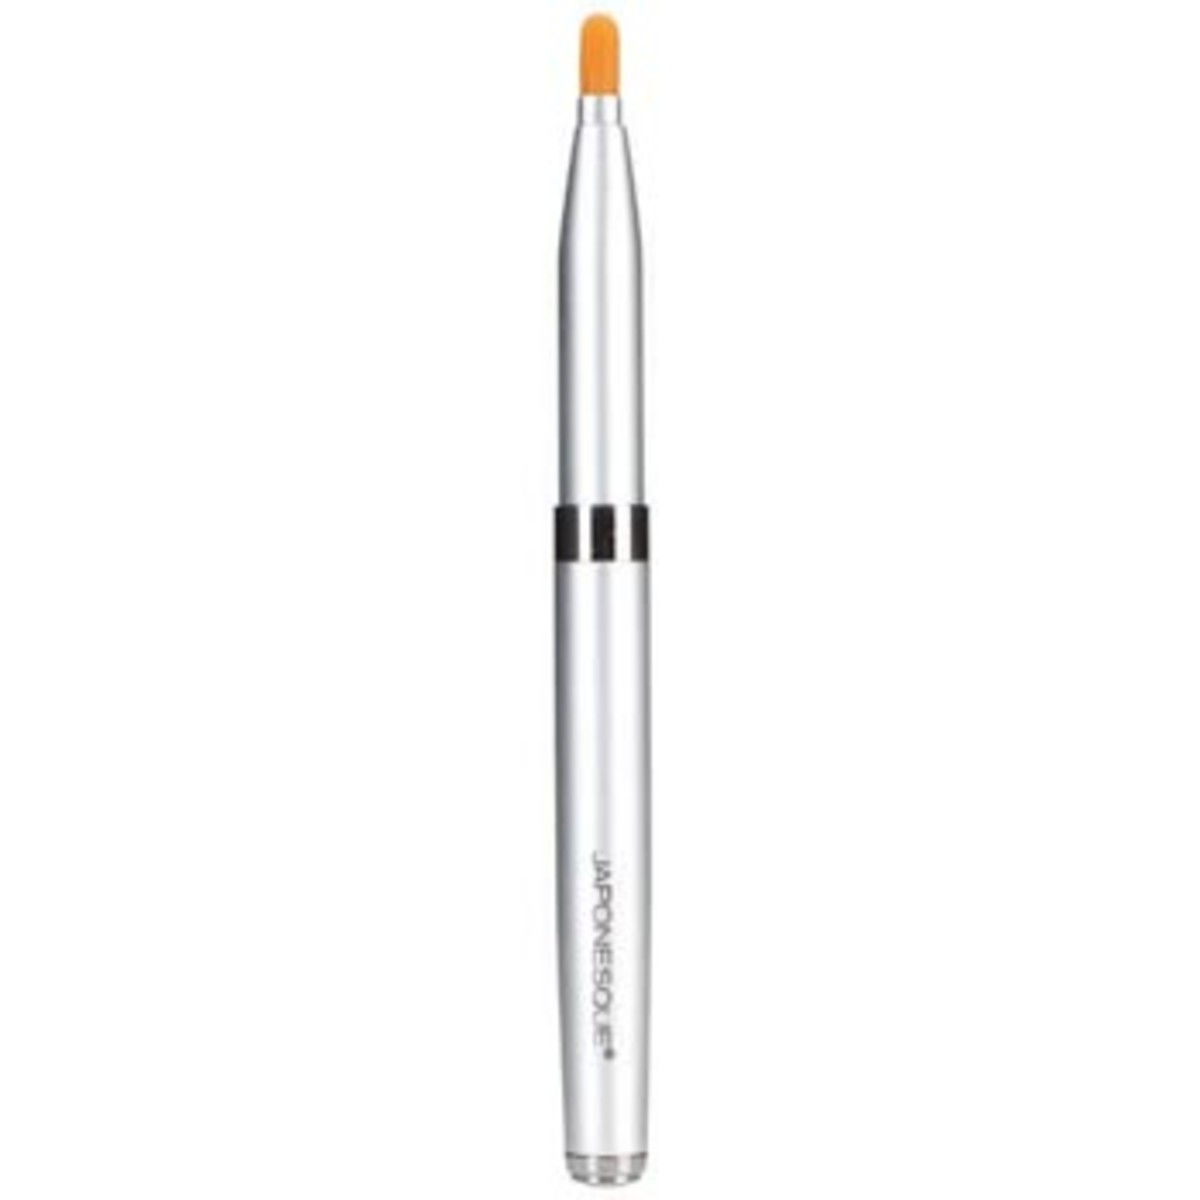
Unlike concealer brushes, which have a larger, flat head, lip brushes are small and pointy—and therefore perfect for dabbing the tiniest, most precise amount of concealer on to the target. I'll say that again: you want to DAB, not rub, and concentrate the concealer just on the discolouration of the pimple itself, not the surrounding area. This is really the key to a natural look.
(Also? Japonesque make the BEST lip brushes.)
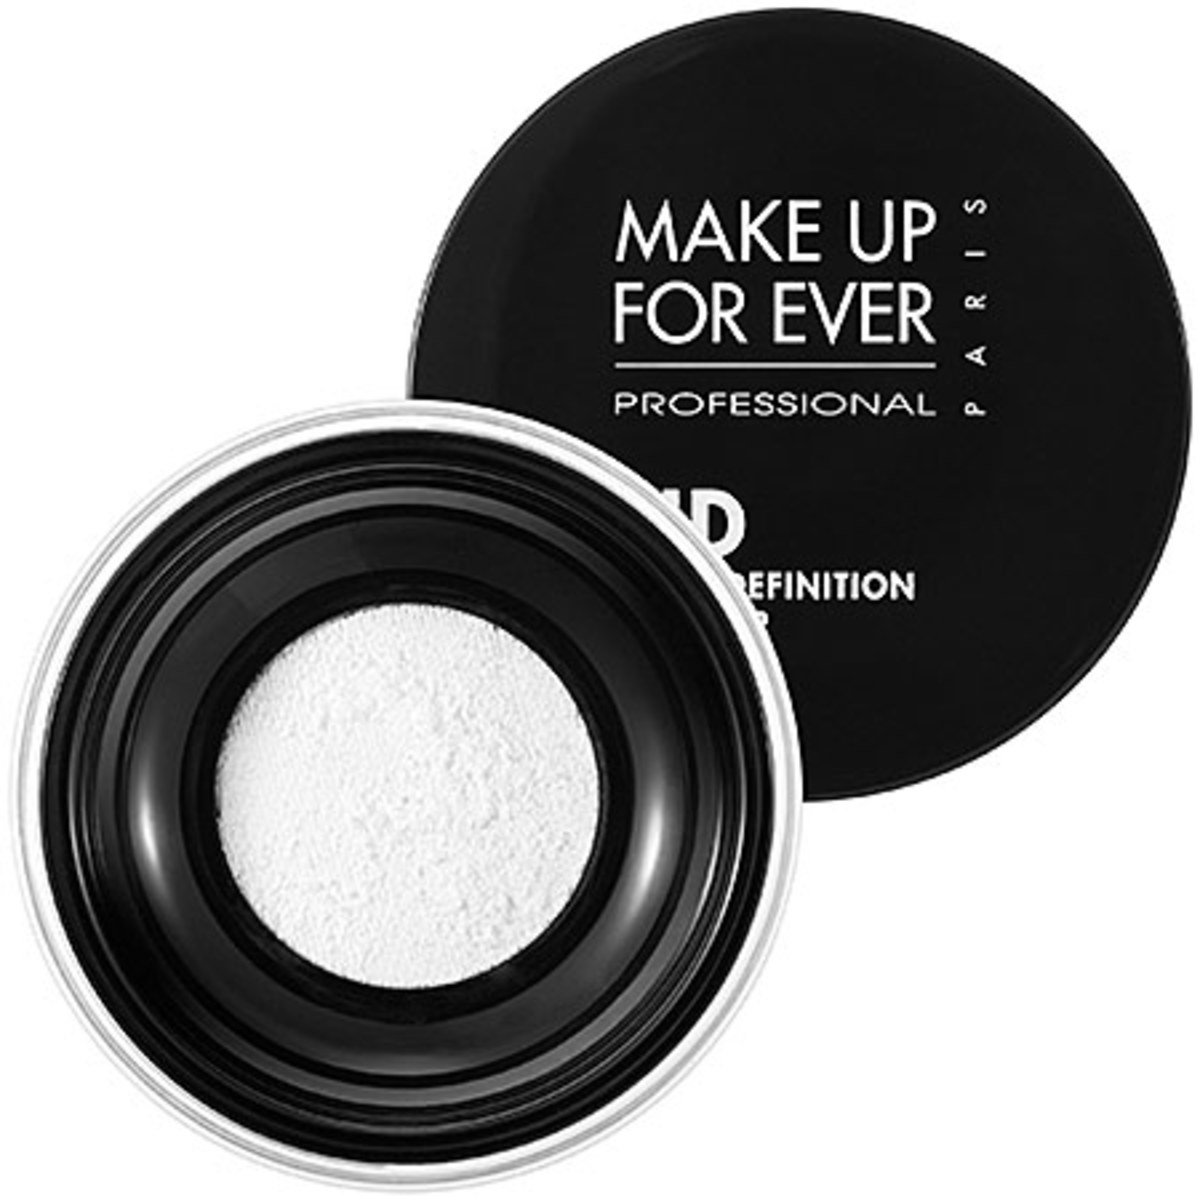
Next I recommend setting your work with a translucent powder to make sure it stays put all day. Long before the HD craze, the heavy-duty camouflage brand Dermablend used to sell its concealer with a loose white setting powder. The new formulas work exactly the same way but are, in my opinion, way more natural-looking. You can't go wrong with the one from MUFE:
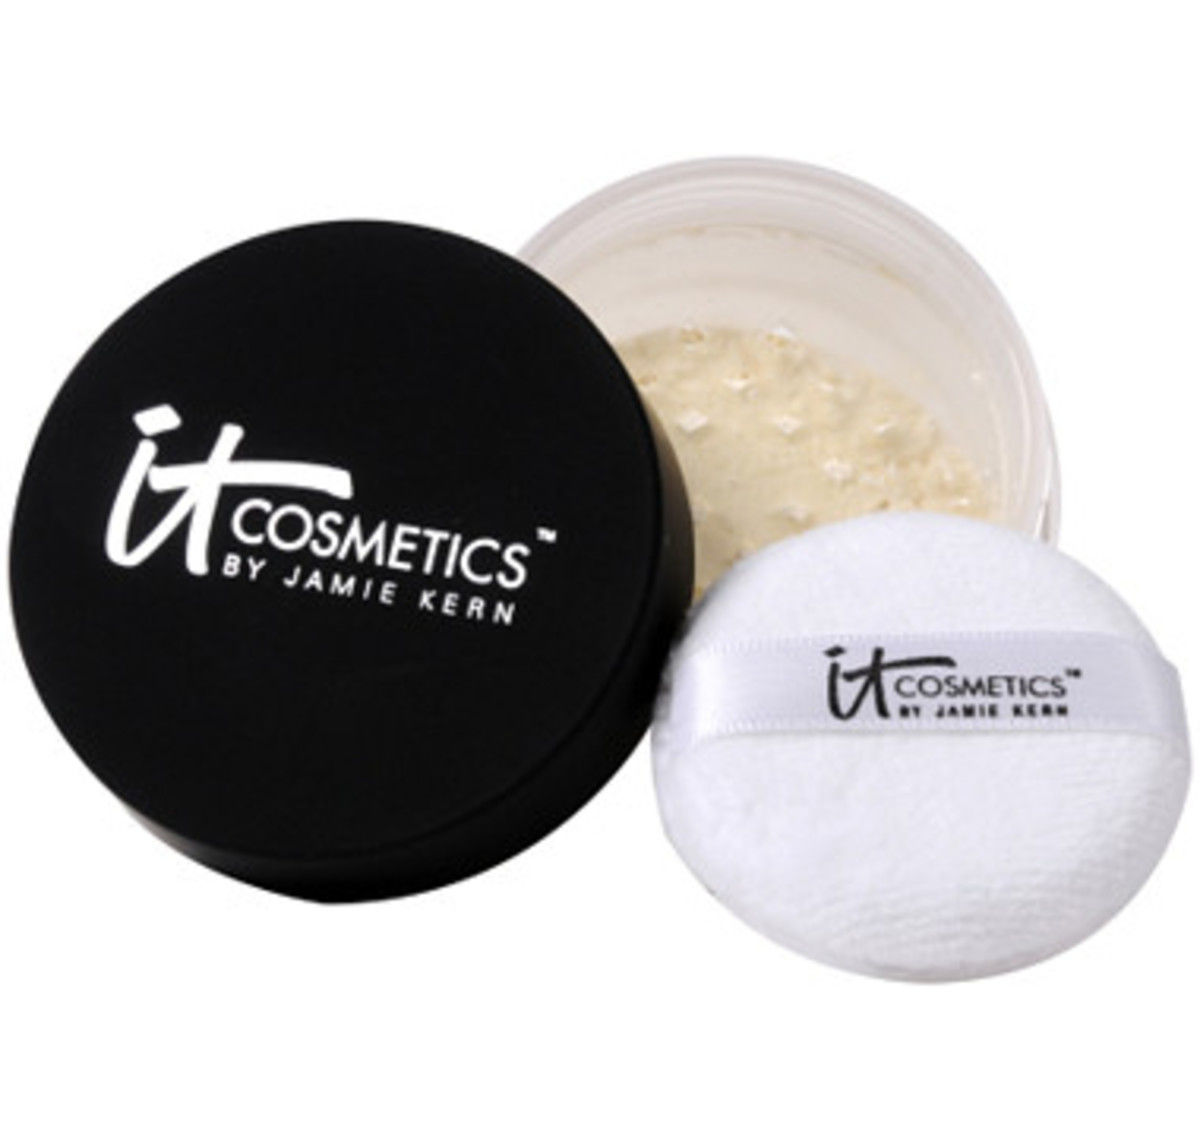
Or It Cosmetics Bye Bye Pores:
But don't use the sponge applicator or a great big kabuki. I actually take a bit of powder on my finger and press it into the pimple by hand, since dusting with a brush can rub off some of the concealer. I let it sit for maybe a minute or two before I take a small fluffy eyeshadow brush and blend the powder out. (You'll want to use the powder everywhere you get shiny, not just where the pimple is—otherwise your skin will look weirdly matte in one spot.)
The last step is a spritz of face mist:
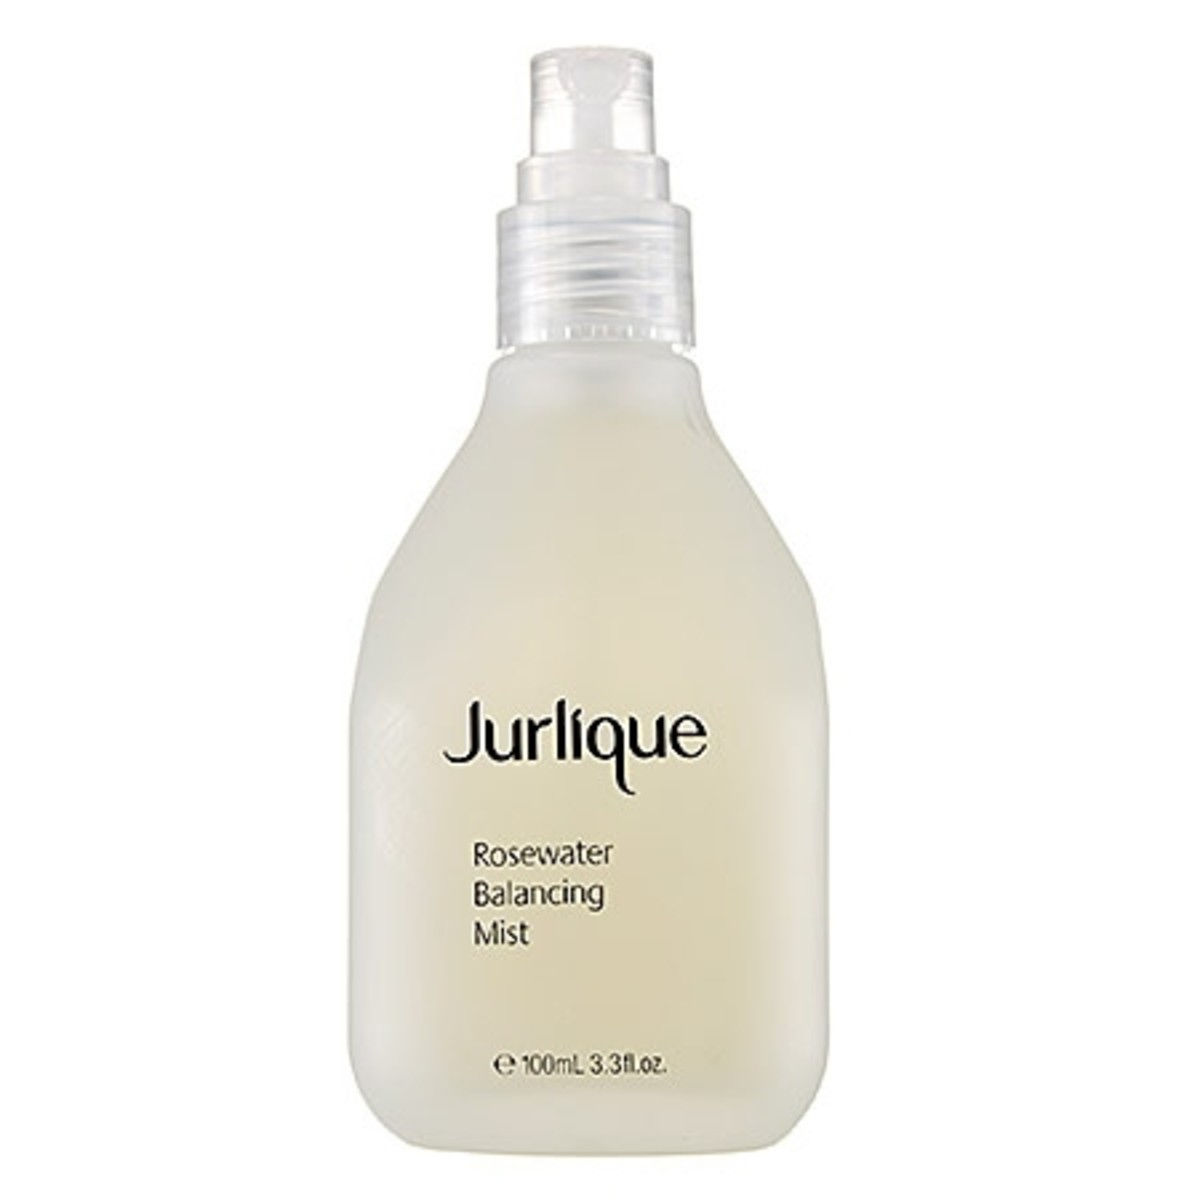
I use Jurlique's rosewater mist right now, which is a celebrity favourite and so, so good, but any brand will do. The mist just helps to cut the matte look of the powder and gives you a more natural skin finish. And you're done!
How to cover a cold sore
I've never had a cold sore THANK GOD, but I hear they're fun times. For those of you who suffer, I've been meaning to tell you about this product for a while now:
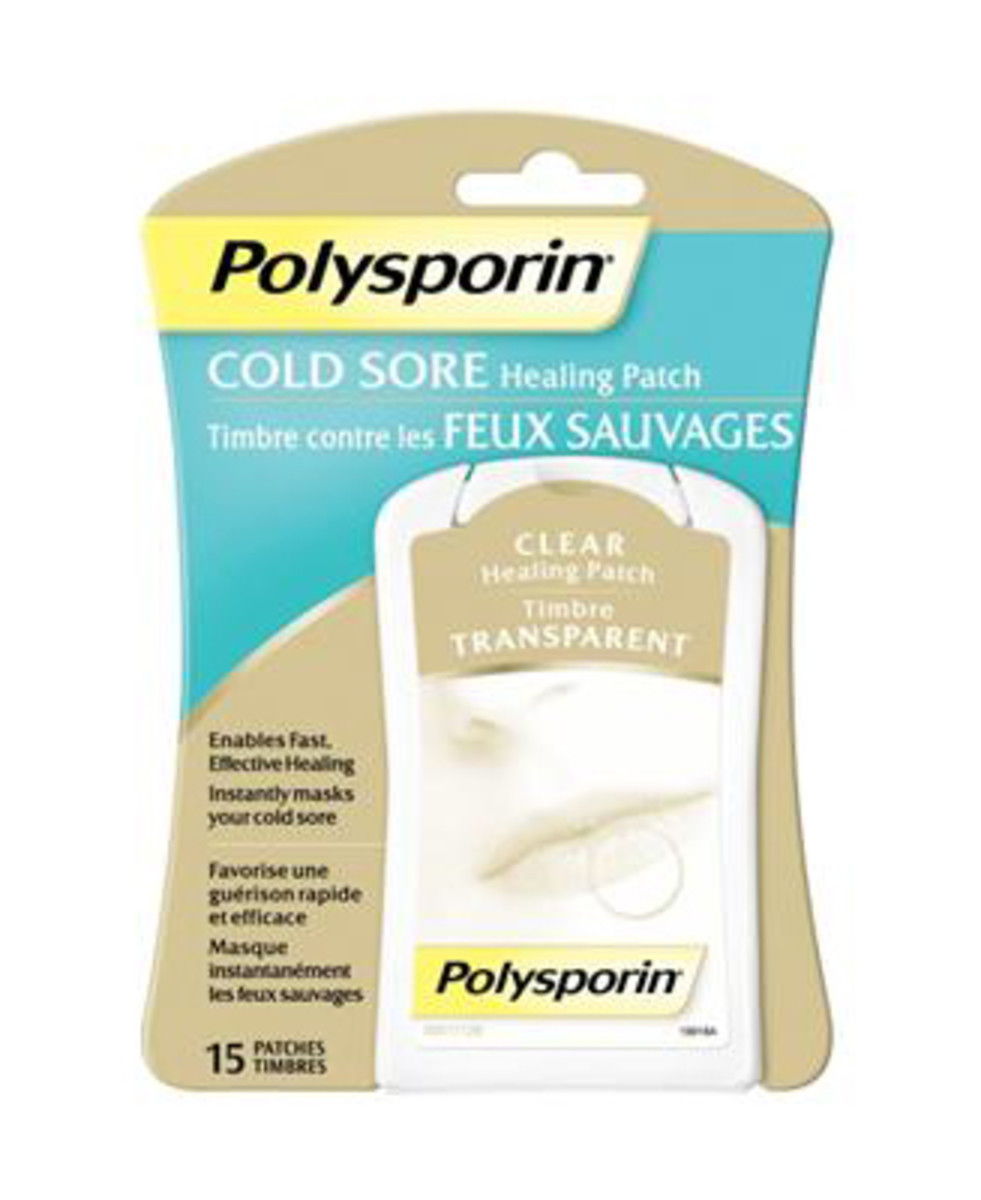
What it does is form a protective barrier around the cold sore to speed up the healing process while assisting your concealment efforts. You put it on bare skin and change the patch every eight hours. I witnessed a demo where makeup was applied right on top, and you really had to look to notice it. (The only thing is to avoid standing under direct light, as the patch is made from plastic and will reflect a bit of light.)
The other great thing about the cold sore patch is that you don't need to worry about contaminating your makeup with yucky cold sore cooties. For the best results, as with my pimple-concealing technique, it's really important to concentrate your concealer only on top of the patch and not the surrounding skin.
How to cover dark circles
Depending on how bad your circles are, you MAY need a different shade of concealer than the one you use for blemishes. I use the same one, and in general I think it's best to start there (since anything too light or mismatched *will* give you the reverse raccoon look). But if you really do have quite purple-toned shadows, think about investing in a slightly yellower concealer to counteract them. Test in natural light pre-purchase.
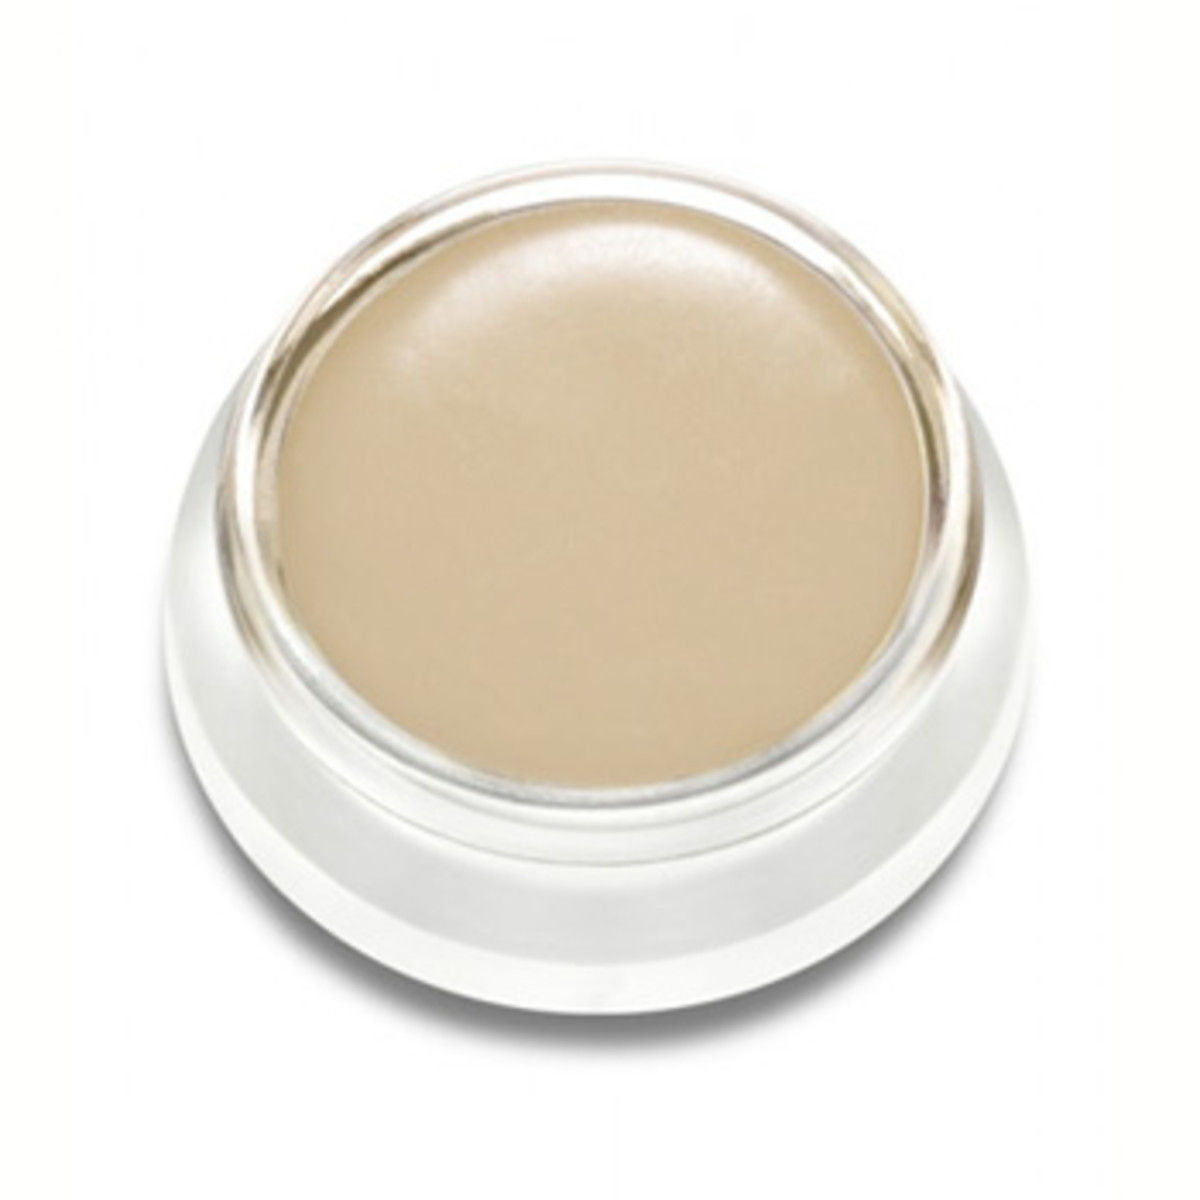
You might also want a slightly creamier formula that's easier to blend than what you use for zits. But beware of the flip side of that: product that's TOO creamy will pool up in the little creases. Lately my fave under-eye product is from RMS Beauty, since it has the blendability of theBalm, but has less of a tendency to cake:
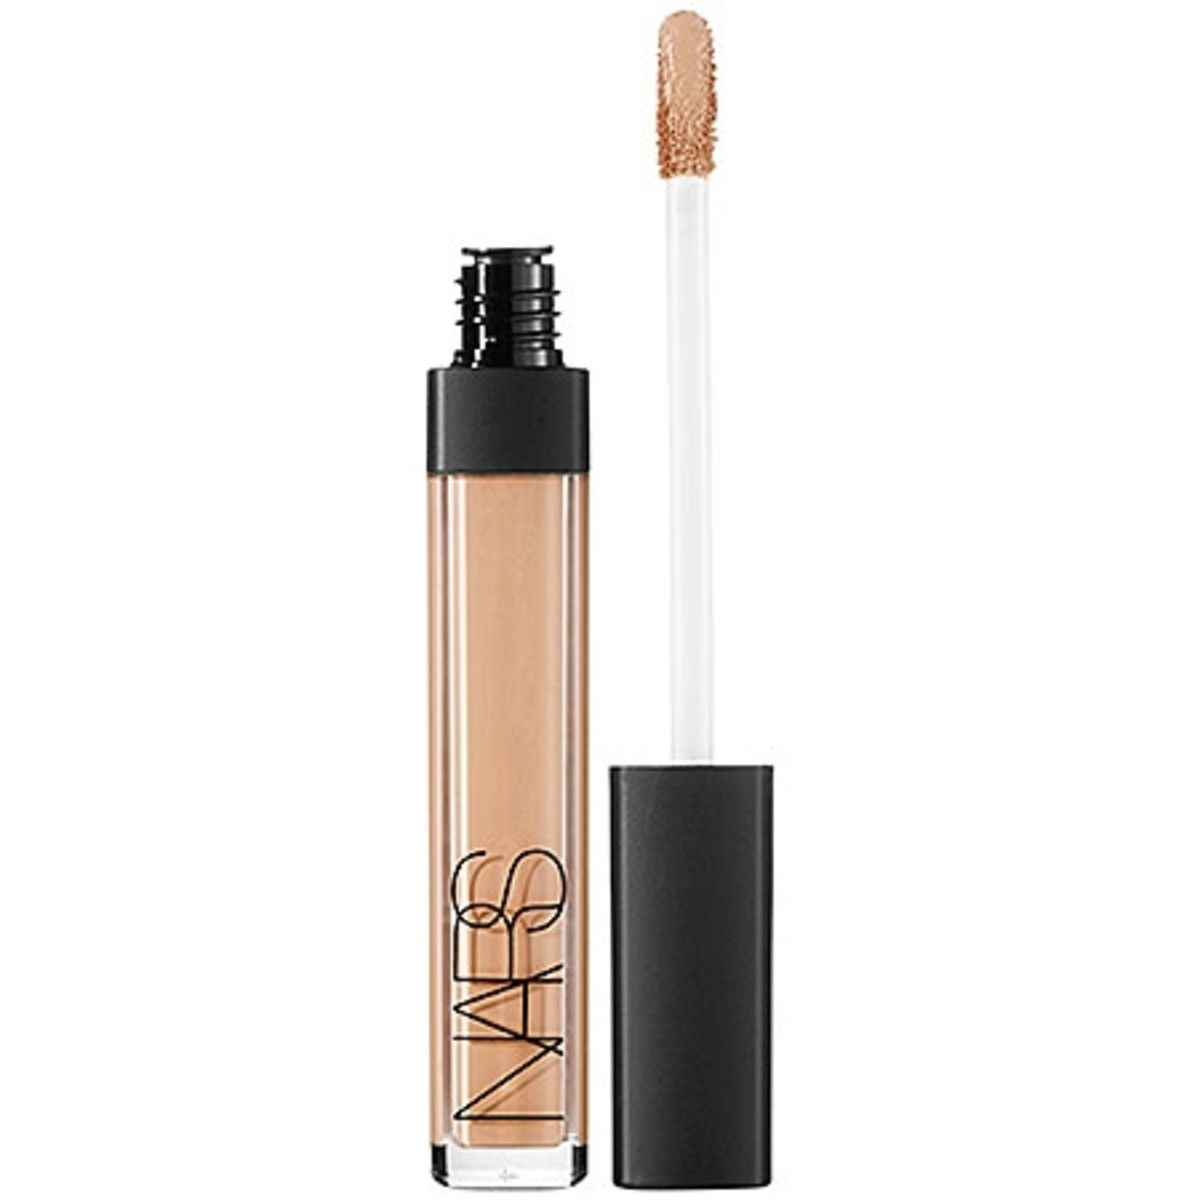
The Clé de Peau concealer is also amazing for the eye area, as is this new, creamy wand format from NARS with light-diffusing technology:
Next, I use a combination of my fingers and a concealer brush (I like MAC's) to press the product all the way around my eye, anywhere there is darkness. So, over the entire lid, at the inner and outer corners, and then (duh) underneath the eye.
Here's the important part: when I say underneath the eye, I mean the Upside-Down Triangle Technique instead of the usual half-moons. With an inverted triangle shape, you bring the concealer right down over the tops of your cheeks. The bottom point of the triangles should be on either side of your nose, and the upper edge along the lower lash lines. I love this method because it helps break up the crescent shape most people use when they apply concealer, and almost acts like a highlighter to plump up your features.
Now blend, blend, blend, and set with HD powder if you want to be doubly sure the concealer doesn't settle into the creases. Just go easy… not like this:
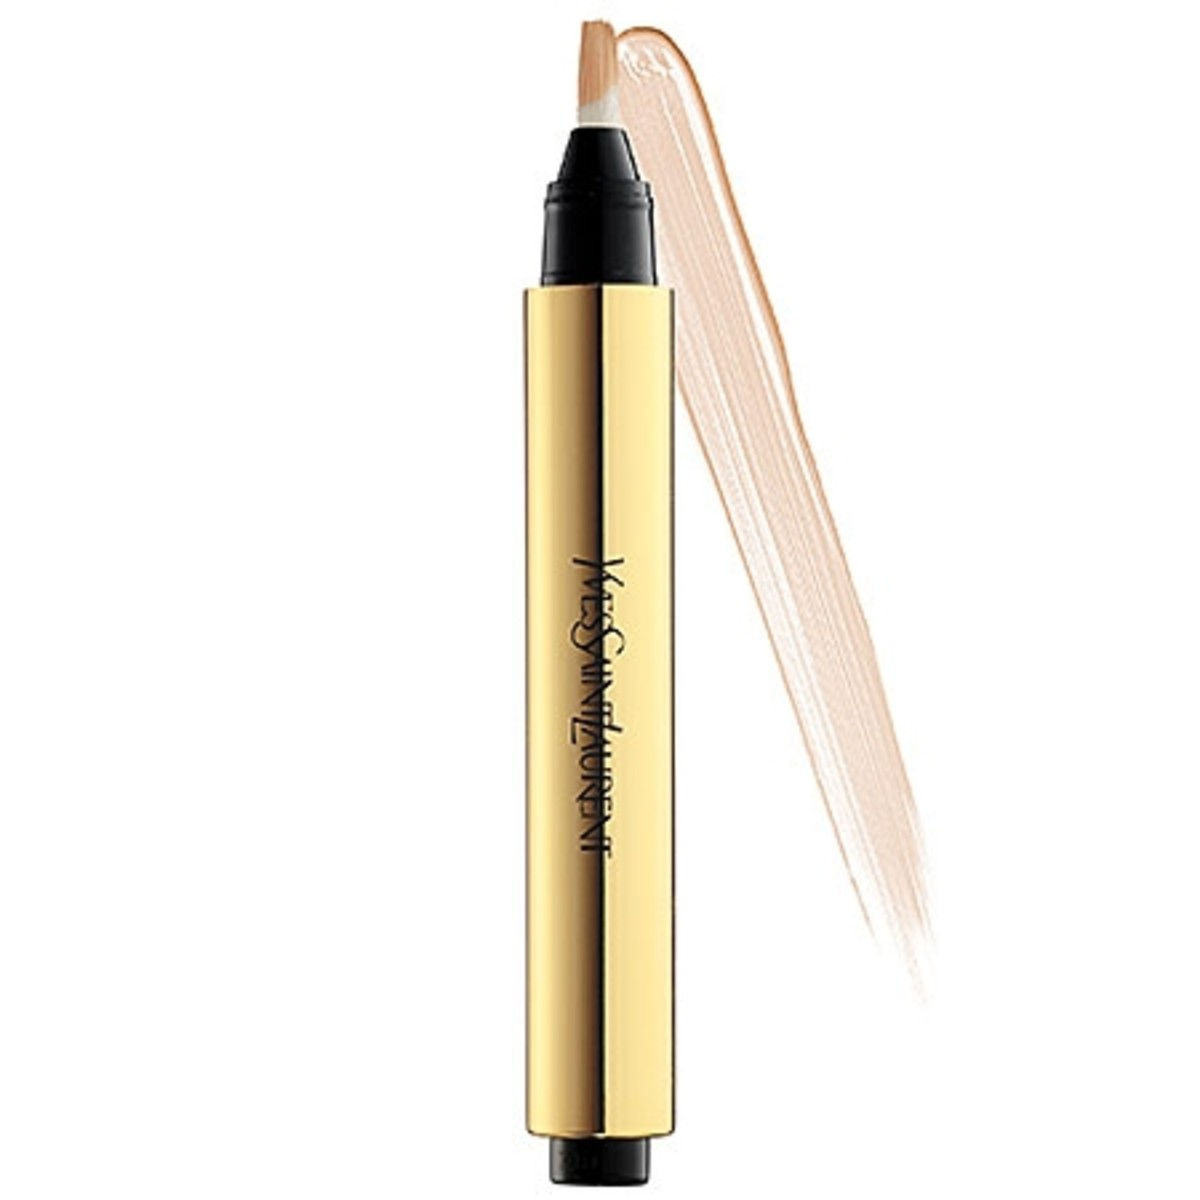
The last step is an illuminating pen on top if you really want to throw light on to the area.
The result: bright, wide-awake eyes.
Have your say
What's most annoying: a zit, cold sore or dark circles?
Have you tried any of these products?
Got any concealer tips of your own?
